Dodge 47RH Transmission
Convert your Dodge 47RH to an Allison
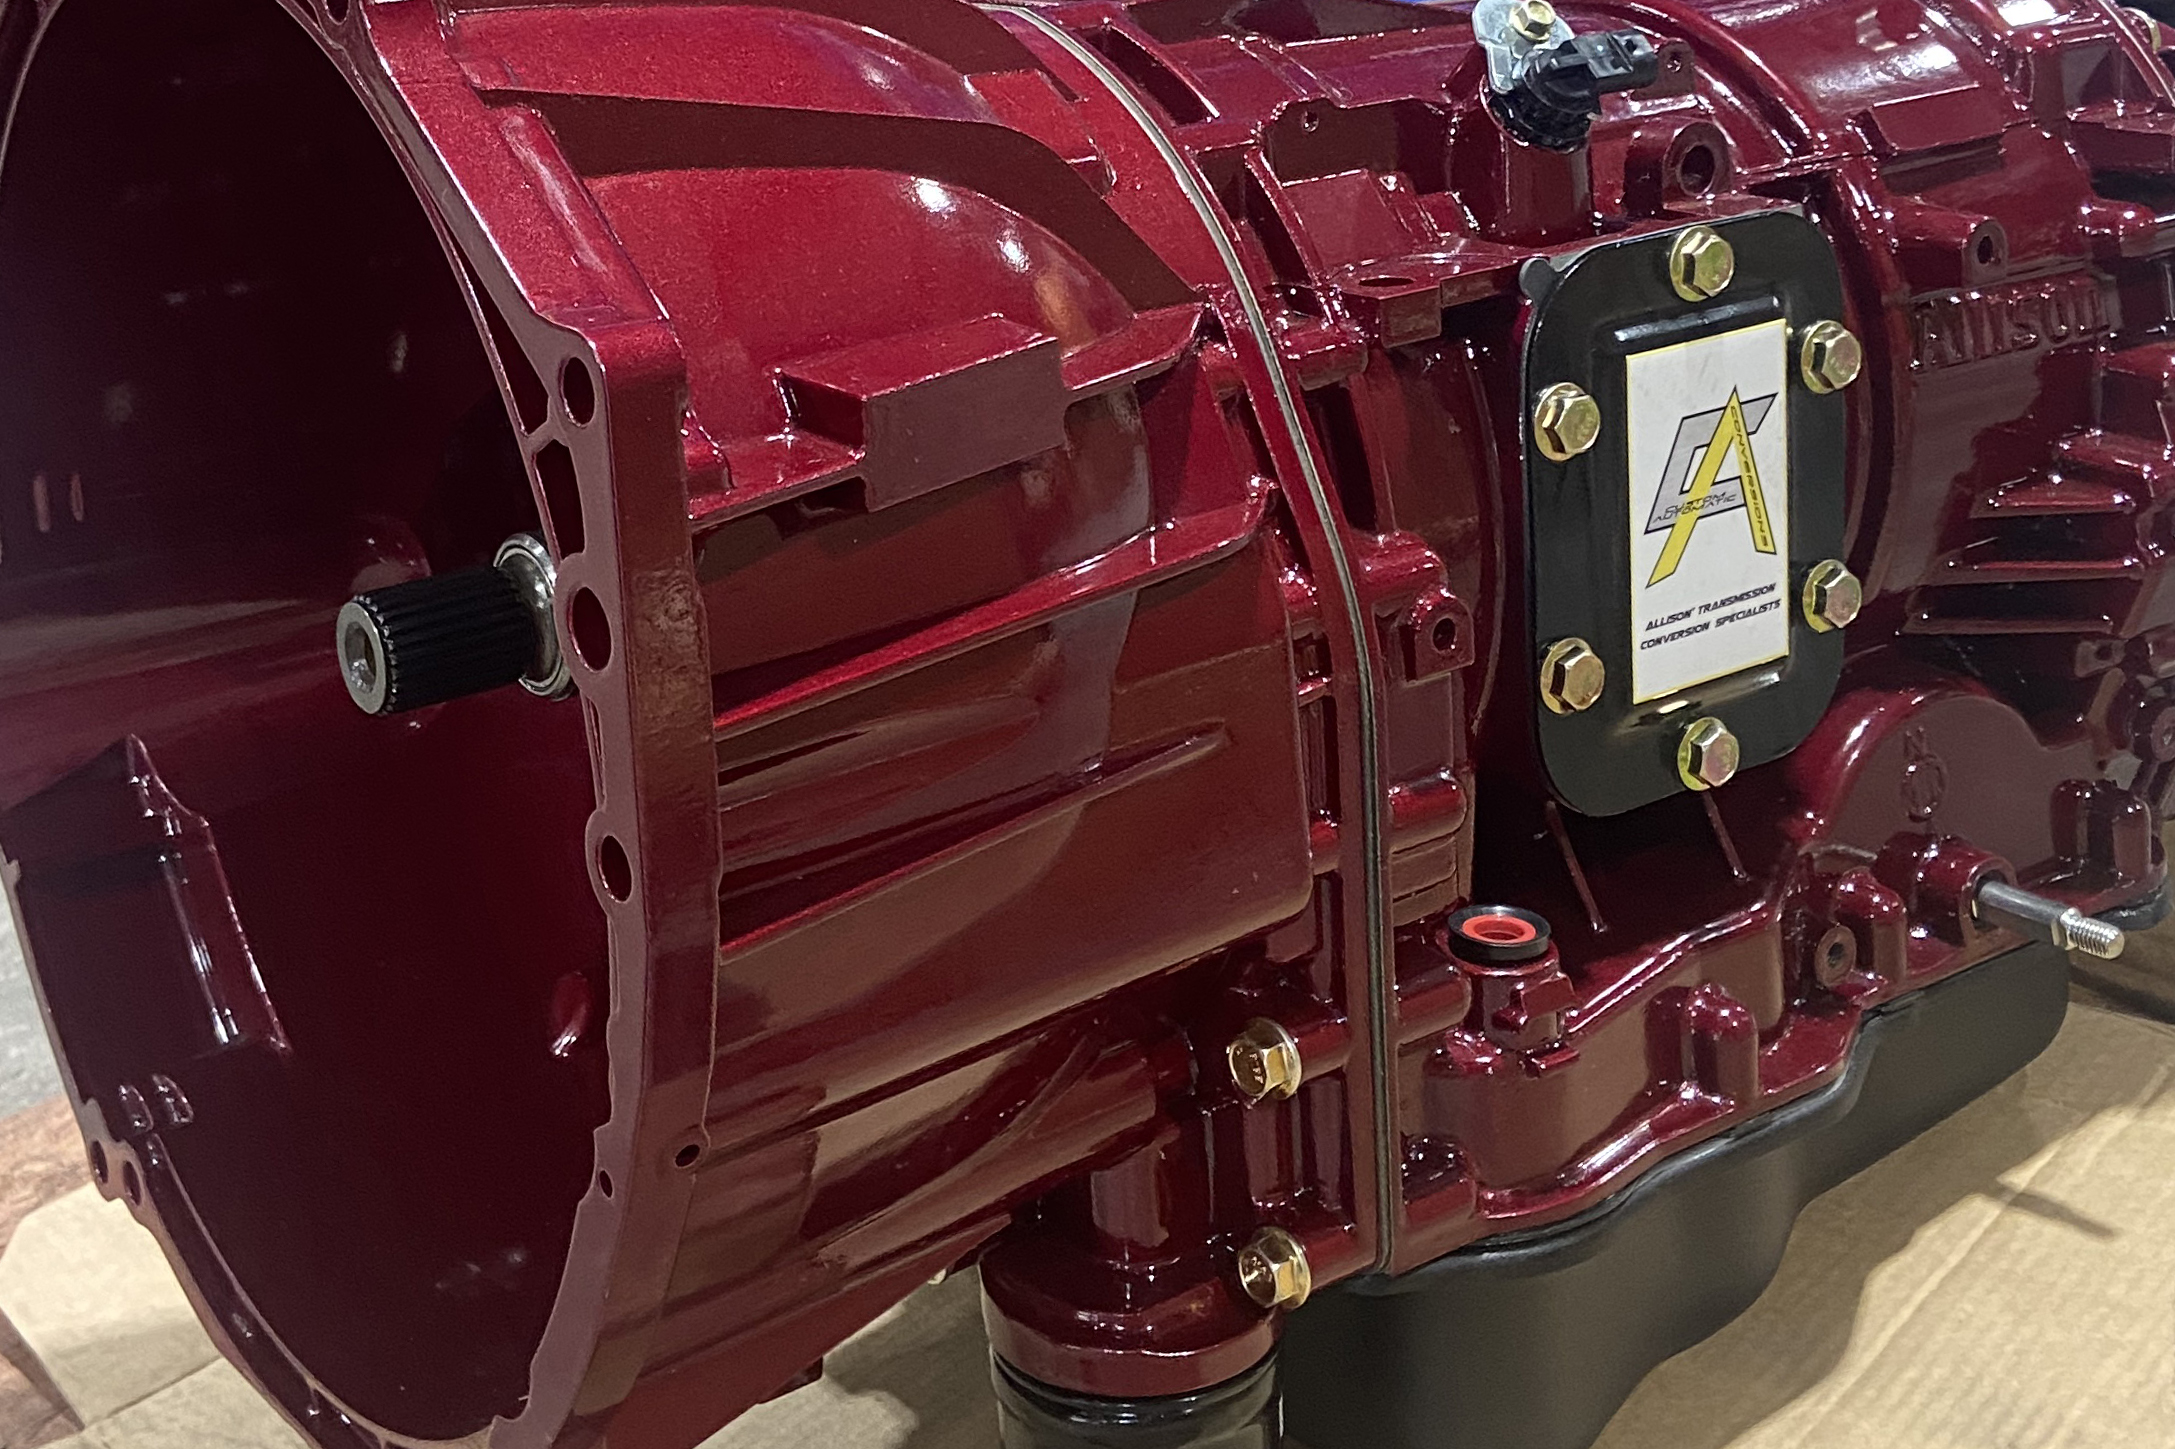
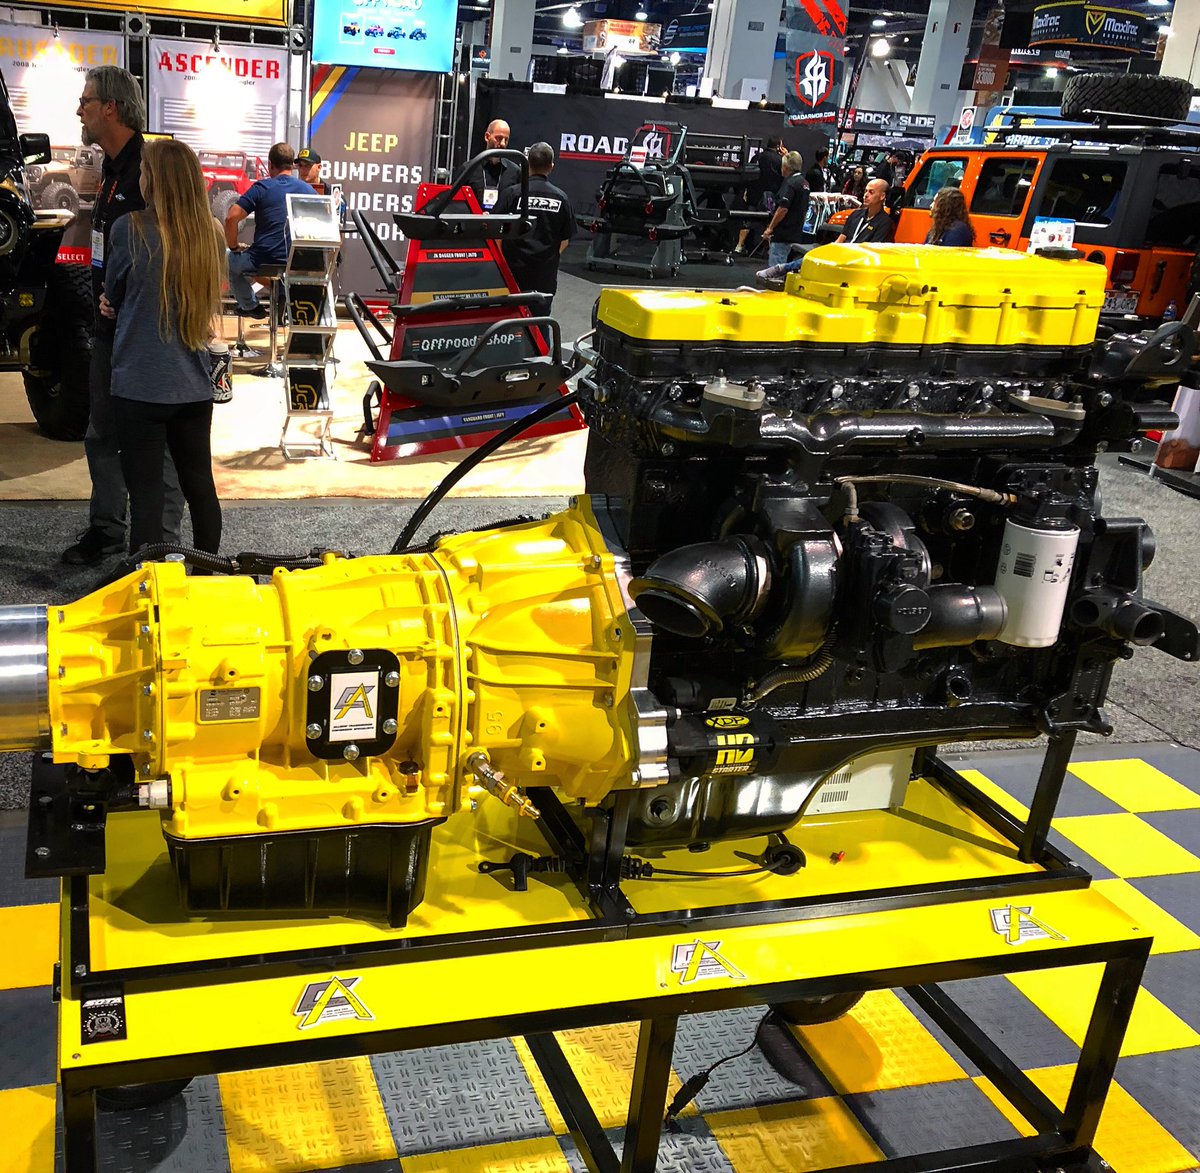
Transform Your Drive: Making the Switch to an Allison 1000PK Transmission
Configure your truckIntroducing the ultimate upgrade for your heavy-duty truck: the Dodge 47RH Transmission conversion to an Allison 1000PK transmission. Designed for unmatched reliability and performance, this conversion transforms your Dodge into a powerhouse that’s ready to take on the toughest challenges. Whether you’re towing heavy loads, traversing rugged terrains, or simply seeking a smoother and more efficient drive, the Allison 1000PK’s proven durability and advanced technology deliver superior torque, enhanced fuel efficiency, and seamless gear shifts. Elevate your driving experience and invest in longevity with this game-changing transmission conversion – your Dodge will thank you.

Overview of the 47RH Transmission
The 47RH Transmission, introduced in the early 1990s, is a robust and reliable 4-speed automatic transmission engineered by Chrysler. Initially designed for Dodge Ram 2500 and 3500 series trucks, this transmission became a popular choice for those equipped with the iconic Cummins turbodiesel engine. Known for its exceptional torque capacity and durability, the 47RH is well-suited for heavy towing and hauling applications, making it a workhorse in the realm of heavy-duty trucks.
Featuring a hydraulic governor control and overdrive lockout, the 47RH delivers smooth and efficient shifting, tailored to the demands of the driver and the load. With a strong, cast aluminum case and a range of thoughtful internal designs, this transmission was built to withstand significant strain and abuse. It provides a great balance between the low-end pulling power needed for hauling and the overdrive necessary for efficient highway cruising, reflecting a practical and functional design philosophy.
However, as truck technology has evolved towards more sophisticated, electronically controlled transmissions, the 47RH, with its hydraulic controls, represents a classic, proven design. It appeals to drivers who appreciate simplicity, reliability, and direct control over their vehicle, without the need for complex electronics. For those who prioritize tried-and-true performance over modern frills, the 47RH remains an attractive and dependable choice.
47RH Features
The 47RH transmission was specifically designed for the unique demands of heavy-duty truck applications. Below are some of the key features that distinguish this iconic transmission:
- High Torque Capacity: Engineered to handle heavy-duty applications, the 47RH is designed to manage high levels of torque, making it ideal for towing and hauling substantial loads.
- Hydraulic Governor Control: The 47RH uses a hydraulic system to control shifting, which allows for reliable and consistent performance without the need for complex electronic controls.
- Durable Construction: Built with a rugged cast aluminum case, the 47RH is constructed to endure the stresses of heavy-duty truck use and to provide lasting service.
- Overdrive Lockout: This feature provides drivers with the option to lock out the overdrive gear, enabling better control when towing heavy loads or climbing steep grades.
- Efficient Gear Ratio Spread: The 47RH offers a well-thought-out range of gear ratios, ensuring that drivers have the pulling power they need while still being able to cruise efficiently on the highway.
- Reliable and Simple Operation: With its hydraulic controls and straightforward design, the 47RH is appreciated for its ease of use and minimal need for electronic troubleshooting.
- Aftermarket Support: Due to its longstanding reputation and widespread use, there is a strong aftermarket support for the 47RH, allowing owners access to a wide array of parts and upgrades.
In summary, the 47RH is a sturdy, dependable, and versatile automatic transmission, specifically engineered to handle the rigorous demands of heavy-duty truck applications. It is celebrated for its simple yet effective design, which offers drivers a reliable and controlled towing and driving experience under a multitude of conditions.
47RH Common Issues and Signs of Failures
While the 47RH transmission is known for its durability and consistent performance, like any mechanical component, it can have its share of issues. Here are some common problems associated with the 47RH transmission, along with signs that it might be failing:
- Overheating: The 47RH can run hot under heavy loads, and overheating is one of the most common killers of transmissions. Overheating can lead to warped components, fluid breakdown, and eventual transmission failure. Installing an auxiliary transmission cooler is often a recommended solution.
- Slipping Between Gears: When the transmission starts slipping between gears, it can be a sign of worn clutches, a failing torque converter, or low transmission fluid pressure. This is often indicated by a sudden change in RPM without a change in vehicle speed.
- Delayed or Erratic Shifting: Hesitation when shifting gears, or sudden and hard shifts, can point towards issues with the transmission’s hydraulic control system, solenoids, or a malfunctioning throttle position sensor.
- Fluid Leaks and Contamination: A failing front or rear transmission seal can lead to fluid leaks. Low fluid levels can result in insufficient lubrication, and contaminated fluid may lead to accelerated wear and tear.
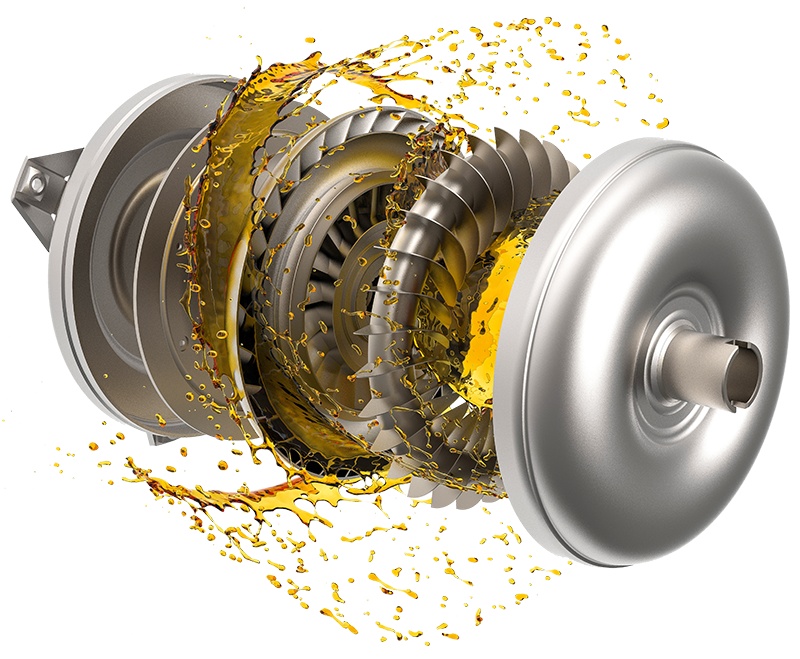
- Torque Converter Failure: The torque converter can fail due to overheating or wear and tear, resulting in symptoms like shuddering, slipping, or complete loss of power transfer from the engine to the transmission.
- Failure of Electronic Components: Although the 47RH relies heavily on hydraulic controls, it does have some electronic components, like solenoids and sensors. Failure of these components can lead to erratic or improper shifting.
- Worn Bands and Clutches: The 47RH's bands and clutches can wear out over time, especially under heavy loads. This will result in slipping between gears and eventual failure to engage certain gears.
- Bearing Failures: Bearings in the 47RH can wear out, resulting in noisy operation, including whining or grinding sounds, especially under load.
- Pump Failure: The hydraulic pump in the 47RH is critical for maintaining pressure and lubricating the transmission. A failing pump can result in low pressure, leading to slipping gears and overheating.
It is worth noting that regular maintenance, including proper lubrication with the correct transmission fluid, and timely replacement of worn components can significantly extend the life of a 47RH transmission and prevent many of these issues. When experiencing any of these symptoms, it is advisable to consult with a professional mechanic or transmission specialist to diagnose and address the problem before it leads to a complete transmission failure.
Rebuild, Replace, Converting to an Allison

Converting to an Allison 1000PK Transmission
Converting from the 47RH to an Allison 1000PK transmission is an extensive process that involves a detailed approach and expertise in transmission systems. This conversion involves transitioning from one automatic transmission system to another, possibly with different characteristics and requirements. Here's an outline of the steps involved:
Preliminary Assessment
- Confirm the compatibility of the Allison 1000PK with your vehicle's engine and existing drivetrain components.
- Calculate the budget for the conversion, including potential custom parts and labor costs.
- Assemble a detailed list of components and tools necessary for the conversion.
Sourcing Required Components
- Procure the Allison 1000PK transmission unit.
- Secure an appropriate bell housing that matches your engine.
- Acquire the correct Transmission Control Module (TCM) for the Allison 1000PK.
- Purchase any necessary wiring harnesses, sensors, adapters, and connectors.
Removing the 47RH Transmission
- Disconnect the vehicle's battery.
- Drain the existing transmission fluid from the 47RH.
- Detach the 47RH transmission from the drivetrain, including disconnection of driveshaft, linkages, and electrical connections.
- Safely remove the 47RH transmission from the vehicle.
Vehicle Preparation
- Assess and possibly modify the transmission tunnel and mounting points to accommodate the Allison 1000PK.
- Establish or adapt new motor mounts or crossmembers if the existing ones are incompatible.
Installing the Allison 1000PK
- Place the Allison 1000PK into position using a transmission jack, align it with the engine, and attach it using the procured bell housing.
- Secure all connections, such as mechanical linkages, hydraulic lines, and electrical connections, as necessary.
Electrical Integration
- Install the TCM, ensuring its location is optimal for performance and accessibility.
- Organize and secure the new wiring harness, ensuring all electrical connections are solid and correctly routed.
- Confirm the integration of the Allison 1000PK’s electronics with the vehicle's existing Engine Control Module (ECM), ensuring seamless communication between the two.
Cooling System Setup
- Install an appropriately sized transmission cooler, optimizing its position for effective airflow and cooling capacity.
- Connect the transmission cooling lines securely between the Allison 1000PK and the newly installed cooler.
Finalizing Drivetrain Integration
- Adapt or fabricate a new driveshaft as necessary to meet the Allison 1000PK's specifications.
- Install and secure the driveshaft, ensuring precise alignment and solid connections at both ends.
Filling and Testing
- Add the recommended transmission fluid to the Allison 1000PK.
- Reconnect the vehicle’s battery.
- Start the engine and test the operation of all gear positions, monitoring for smooth shifting and proper function.
- Conduct a comprehensive road test to confirm the transmission’s and TCM’s performance under various conditions.
Final Adjustments and Inspection
- Post-test drive, check for any fluid leaks, abnormal noises, or performance issues.
- Perform any necessary adjustments to optimize the performance, including linkage, wiring, or fluid levels.
Documentation and Regulatory Compliance:
- Maintain detailed records of all changes made during the conversion for future reference, resale, or in case of servicing.
- Verify that the conversion meets all local and federal regulations, including emissions and safety standards.
Due to the technical nature of this conversion, it is strongly recommended to engage a professional mechanic or shop with experience in transmission swaps. When executed correctly, this conversion can equip your vehicle with the robust and high-performing Allison 1000PK transmission.

Rebuilding the Dodge 47RH Transmission
Rebuilding a Dodge 47RH transmission is a comprehensive process that demands a clear understanding of its inner mechanics, as well as the availability of specific tools. The purpose of a rebuild is to restore the transmission to its optimal functionality by replacing the worn or damaged components. Below is a step-by-step outline of the process:
- Preparation and Safety: Organize your work area, ensuring cleanliness and adequate space. Disconnect the vehicle’s battery and gather all the necessary tools and replacement parts before commencing the rebuild.
- Disassembly: Diligently disassemble the Dodge 47RH transmission. Organize and inspect all components as they are removed, noting any visibly worn or damaged parts.
- Cleaning: Clean all removed parts meticulously using a parts cleaner solution or a solvent. This is essential to expose any concealed wear or damage.
- Inspection and Assessment: Conduct a thorough inspection of all components, such as gears, bearings, clutch plates, valve body, and seals for wear or damage. Based on this inspection, compile a list of parts that require replacement.
- Acquire Replacement Parts: Utilizing the inspection as a guide, procure the necessary replacement parts. Typical replacements might include bearings, seals, gaskets, clutch plates, and possibly valve body components.
- Reassembly with New Parts: Methodically reassemble the Dodge 47RH transmission, integrating the new components as needed. Adhere strictly to the reassembly sequence and the torque specifications for all bolts and fasteners.
- Clutch and Band Adjustment: Adjust the clutches and bands as per the manufacturer’s specifications. This is a pivotal step to ensure the transmission engages gears effectively and efficiently.
- Sealing and Gasket Installation: During reassembly, install fresh seals and gaskets to avoid fluid leaks. Ascertain that all surfaces are clean and even before the gasket installation.
- Final Assembly and Inspection: Once the 47RH is reassembled, review all components, fasteners, and settings diligently. Confirm that everything is installed appropriately and torqued to the specified standards.
- Reinstallation of the Transmission: Reinstall the rebuilt 47RH transmission into the vehicle, ensuring all connections are secure and properly torqued.
- Refill with Transmission Fluid: After the transmission is reinstalled, replenish it with new, high-quality transmission fluid to the level specified by the manufacturer.
- Testing: Reconnect the battery and initiate the vehicle. Cautiously test all gears in a controlled environment, listening for any irregular sounds and sensing for smooth, grind-free shifting.
- Road Test: Upon successful initial tests, perform a test drive under varied conditions. Monitor the shifting patterns of the transmission and confirm its smooth and responsive operation.
- Final Adjustments and Checks: Following the road test, revisit the fluid levels and inspect for any signs of leaks or abnormal sounds. Make any necessary adjustments based on the feedback from the road test.
- Documentation: Maintain detailed records of the rebuilding process, including parts that were replaced and any challenges encountered. Such documentation can prove to be invaluable for subsequent maintenance or repair activities.
It is important to note that rebuilding a transmission is a highly technical undertaking that typically necessitates a proficient mechanic or an experienced DIYer. Specialized tools and manuals specific to the Dodge 47RH are often essential. Always consult a service manual for the most precise and comprehensive information.

Replacing the Dodge 47RH Transmission
Replacing a 47RH transmission involves removing the old unit from the vehicle and installing a new or rebuilt one. This is a substantial project that requires a good understanding of automotive mechanics and access to the right tools. Here's a step-by-step guide to replacing a 47RH transmission:
Preparation
- Prepare a clean, organized workspace.
- Gather all necessary tools, including a transmission jack, wrench set, and other specialty tools.
- Make sure you have the replacement 47RH transmission ready.
Acquire Necessary Parts
- Purchase the replacement 47RH transmission.
- Acquire a new or modified bell housing compatible with your engine.
- Obtain the required torque converter for the 47RH.
- Get any required wiring harnesses, adapters, and connectors.
- Source an upgraded or suitable transmission cooler.
Safety First
- Disconnect the vehicle’s battery to ensure safety while working with electrical components.
- Secure the vehicle with wheel chocks and jack stands to prevent any movement.
Drain the Transmission Fluid
- Place a drain pan under the transmission and remove the drain plug to allow the fluid to drain completely.
Remove Driveshaft and Linkages
- Disconnect the driveshaft from the transmission.
- Remove shift linkages and any associated hardware.
Disconnect Electrical and Hydraulic Connections
- Unplug any electrical connections related to the transmission, such as sensors.
- Disconnect the hydraulic lines for the torque converter, if applicable.
Support and Remove the Transmission
- Place a transmission jack under the 47RH to support its weight.
- Remove the bolts that secure the transmission to the engine and the transmission mount bolts.
- Carefully lower and remove the transmission from the vehicle.
Inspect and Prepare the Replacement Transmission
- Inspect the replacement 47RH transmission for any issues and ensure it is clean and ready for installation.
- Install a new torque converter as necessary.
Install the Replacement Transmission
- Using the transmission jack, carefully lift the replacement 47RH into position.
- Align it with the engine and secure it in place with the appropriate bolts. Torque the bolts to the manufacturer’s specifications.
Reconnect Electrical and Hydraulic Connections
- Plug in any electrical connections related to the transmission and reconnect the hydraulic lines for the torque converter, if applicable.
Install Driveshaft and Linkages
- Reinstall the driveshaft and reconnect it to the transmission.
- Reattach shift linkages and any associated hardware.
Refill the Transmission with Fluid
- After the transmission is secured, fill it with the recommended transmission fluid to the proper level as per the manufacturer’s specifications.
Reconnect the Battery and Test
- Reconnect the vehicle’s battery.
- Start the vehicle and carefully test all gears under controlled conditions. Listen for unusual noises and feel for smooth shifting without grinding.
Road Test
- After the initial tests are successful, take the vehicle for a test drive under various conditions. Pay close attention to the shifting behavior of the transmission and ensure that it operates smoothly and responsively.
Check for Leaks and Final Inspection
- After the road test, inspect the transmission and connections for any leaks or loose bolts and make any necessary adjustments based on the road test feedback.
Document the Replacement
- Keep detailed records of the transmission replacement, including the date, any parts replaced, and any issues encountered. This documentation can be invaluable for future maintenance or repairs.
Please note that replacing a transmission is a significant and complex task. It's typically best handled by a professional mechanic or someone with substantial automotive repair experience. Always consult a service manual for the most accurate and detailed information specific to the 47RH transmission and your vehicle.

Upgrading from a 47RH to an Allison 1000PK transmission can offer numerous benefits, depending on the application and use case. The 47RH is a 4-speed automatic transmission produced by Chrysler, while the Allison 1000 series is a well-known series of transmissions, recognized for its high durability and commonly found in heavy-duty trucks. Below are some of the key benefits of converting to an Allison 1000PK transmission:
The Allison 1000PK transmission is designed for high-demand situations and is known for its exceptional durability. It is built to withstand heavy loads, making it ideal for towing and commercial use, where reliability under strain is paramount.
The Allison 1000PK transmission is engineered to handle higher torque loads compared to the 47RH. This is advantageous for those who use their vehicle for heavy towing or hauling and need a transmission that can handle the increased stress.
The Allison 1000PK typically offers more forward gears (usually six or more) compared to the 4-speed 47RH. More gears can translate to improved fuel efficiency, smoother shifting, and better power distribution across a wider RPM range.
Thanks to its higher number of gears and sophisticated controls, the Allison 1000PK often allows for more efficient engine operation, which can contribute to improved fuel economy in some driving conditions.
Some drivers may experience improved fuel efficiency with an automatic transmission like the Allison 1000PK due to its optimized shifting patterns.
The Allison 1000PK comes with modern, electronic control systems that offer precise and adaptive shift strategies. These controls can optimize performance, responsiveness, and efficiency under various driving conditions.
Installing a respected, heavy-duty transmission like the Allison 1000PK can potentially enhance the resale value of the vehicle. Buyers in the market for a used vehicle with heavy towing or hauling needs might see this as a valuable upgrade.
For those looking to pair their vehicle with a more modern, powerful engine, the Allison 1000PK transmission is often a compatible and robust choice, designed to work with a variety of contemporary engine setups.
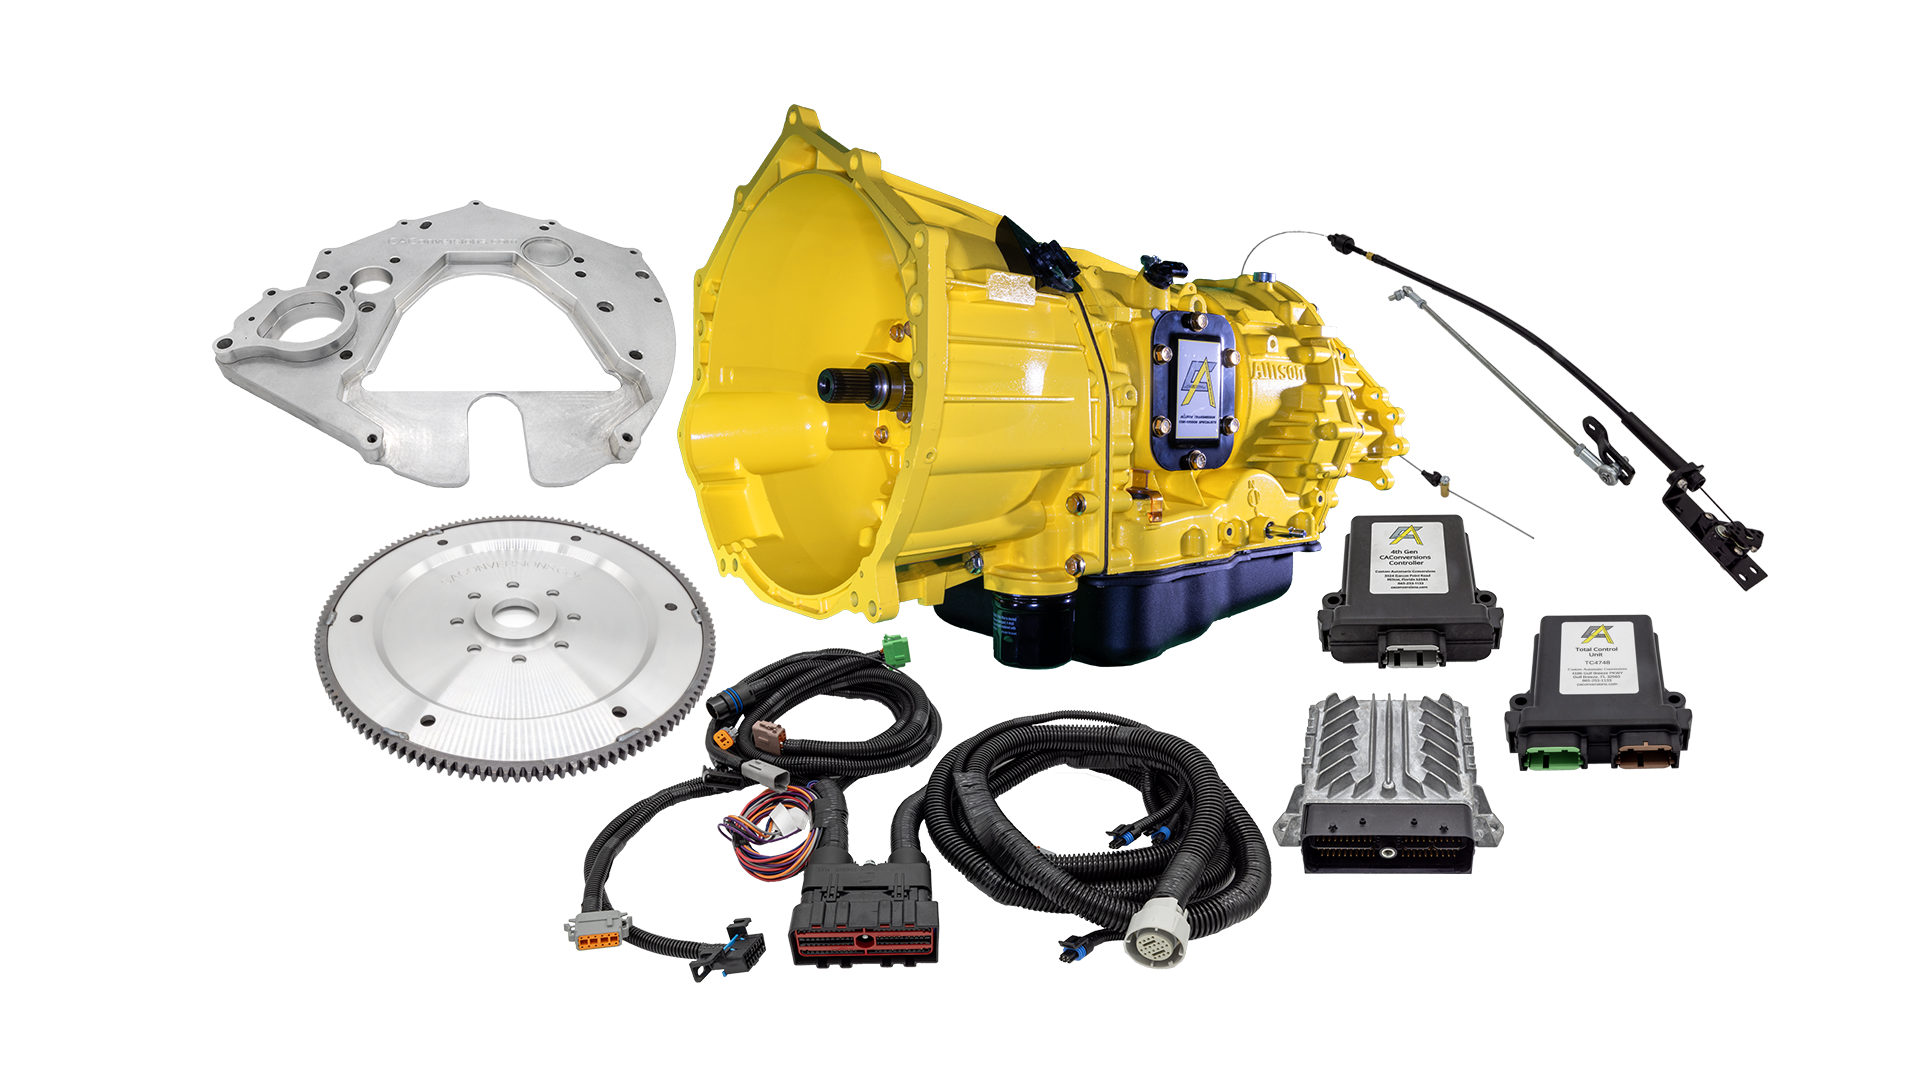
We provide everything you will need to get the swap done right

- Kit Includes
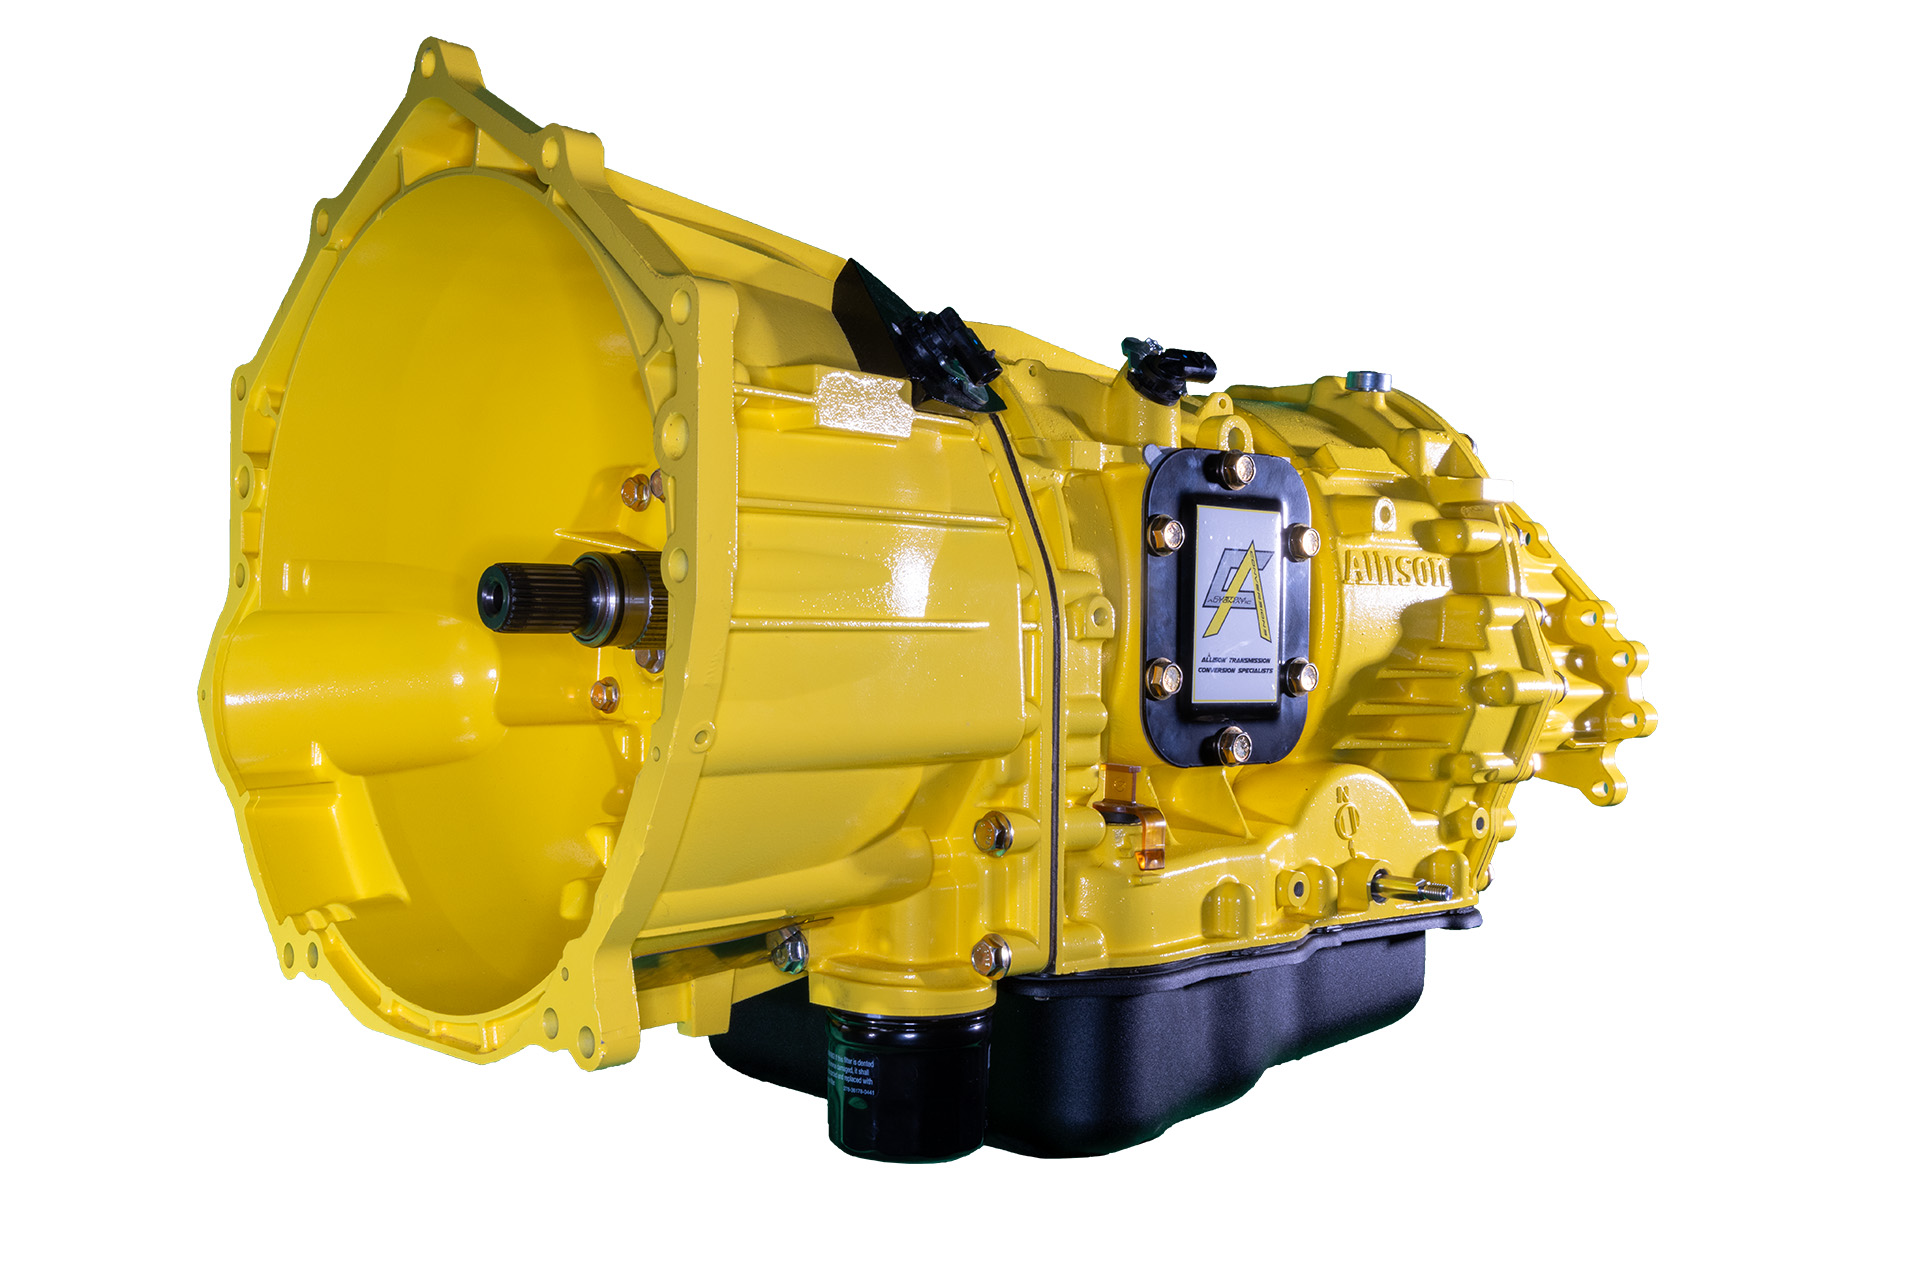
Allison 1000PK Transmission
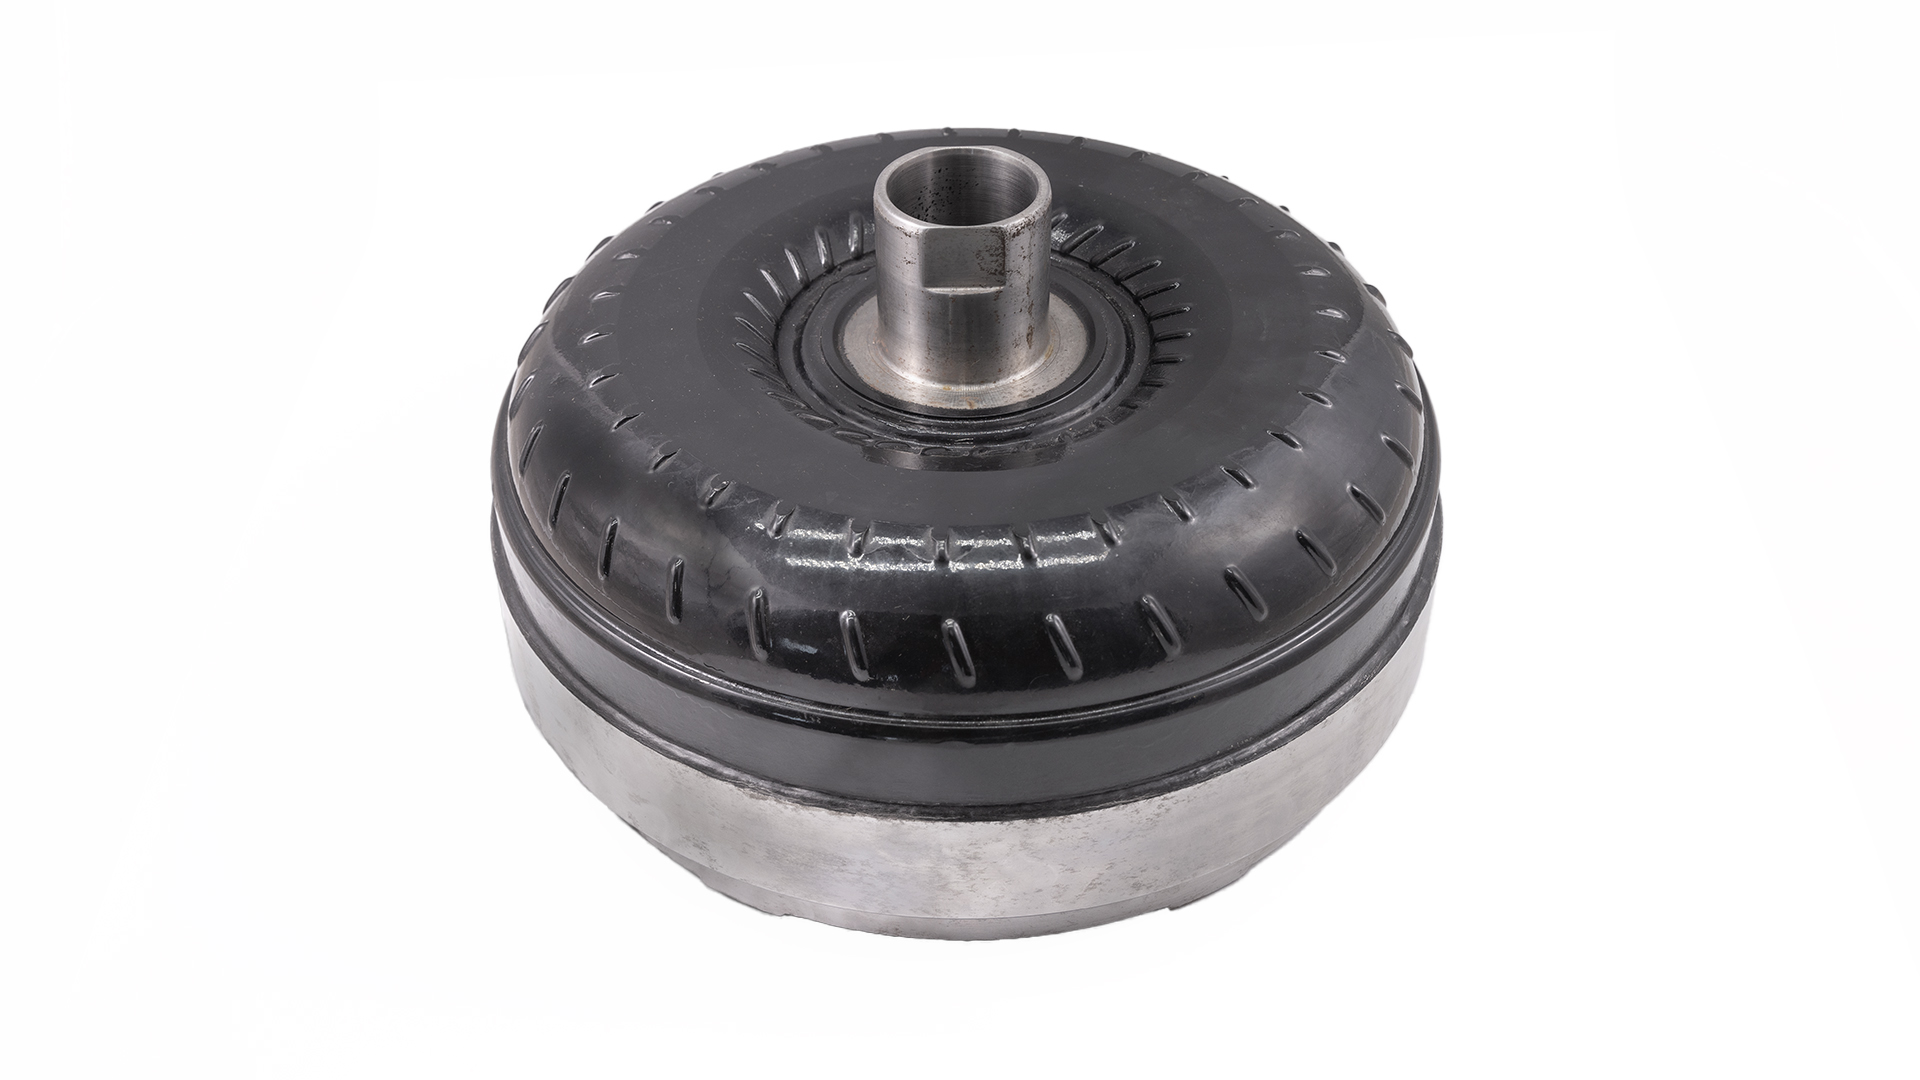
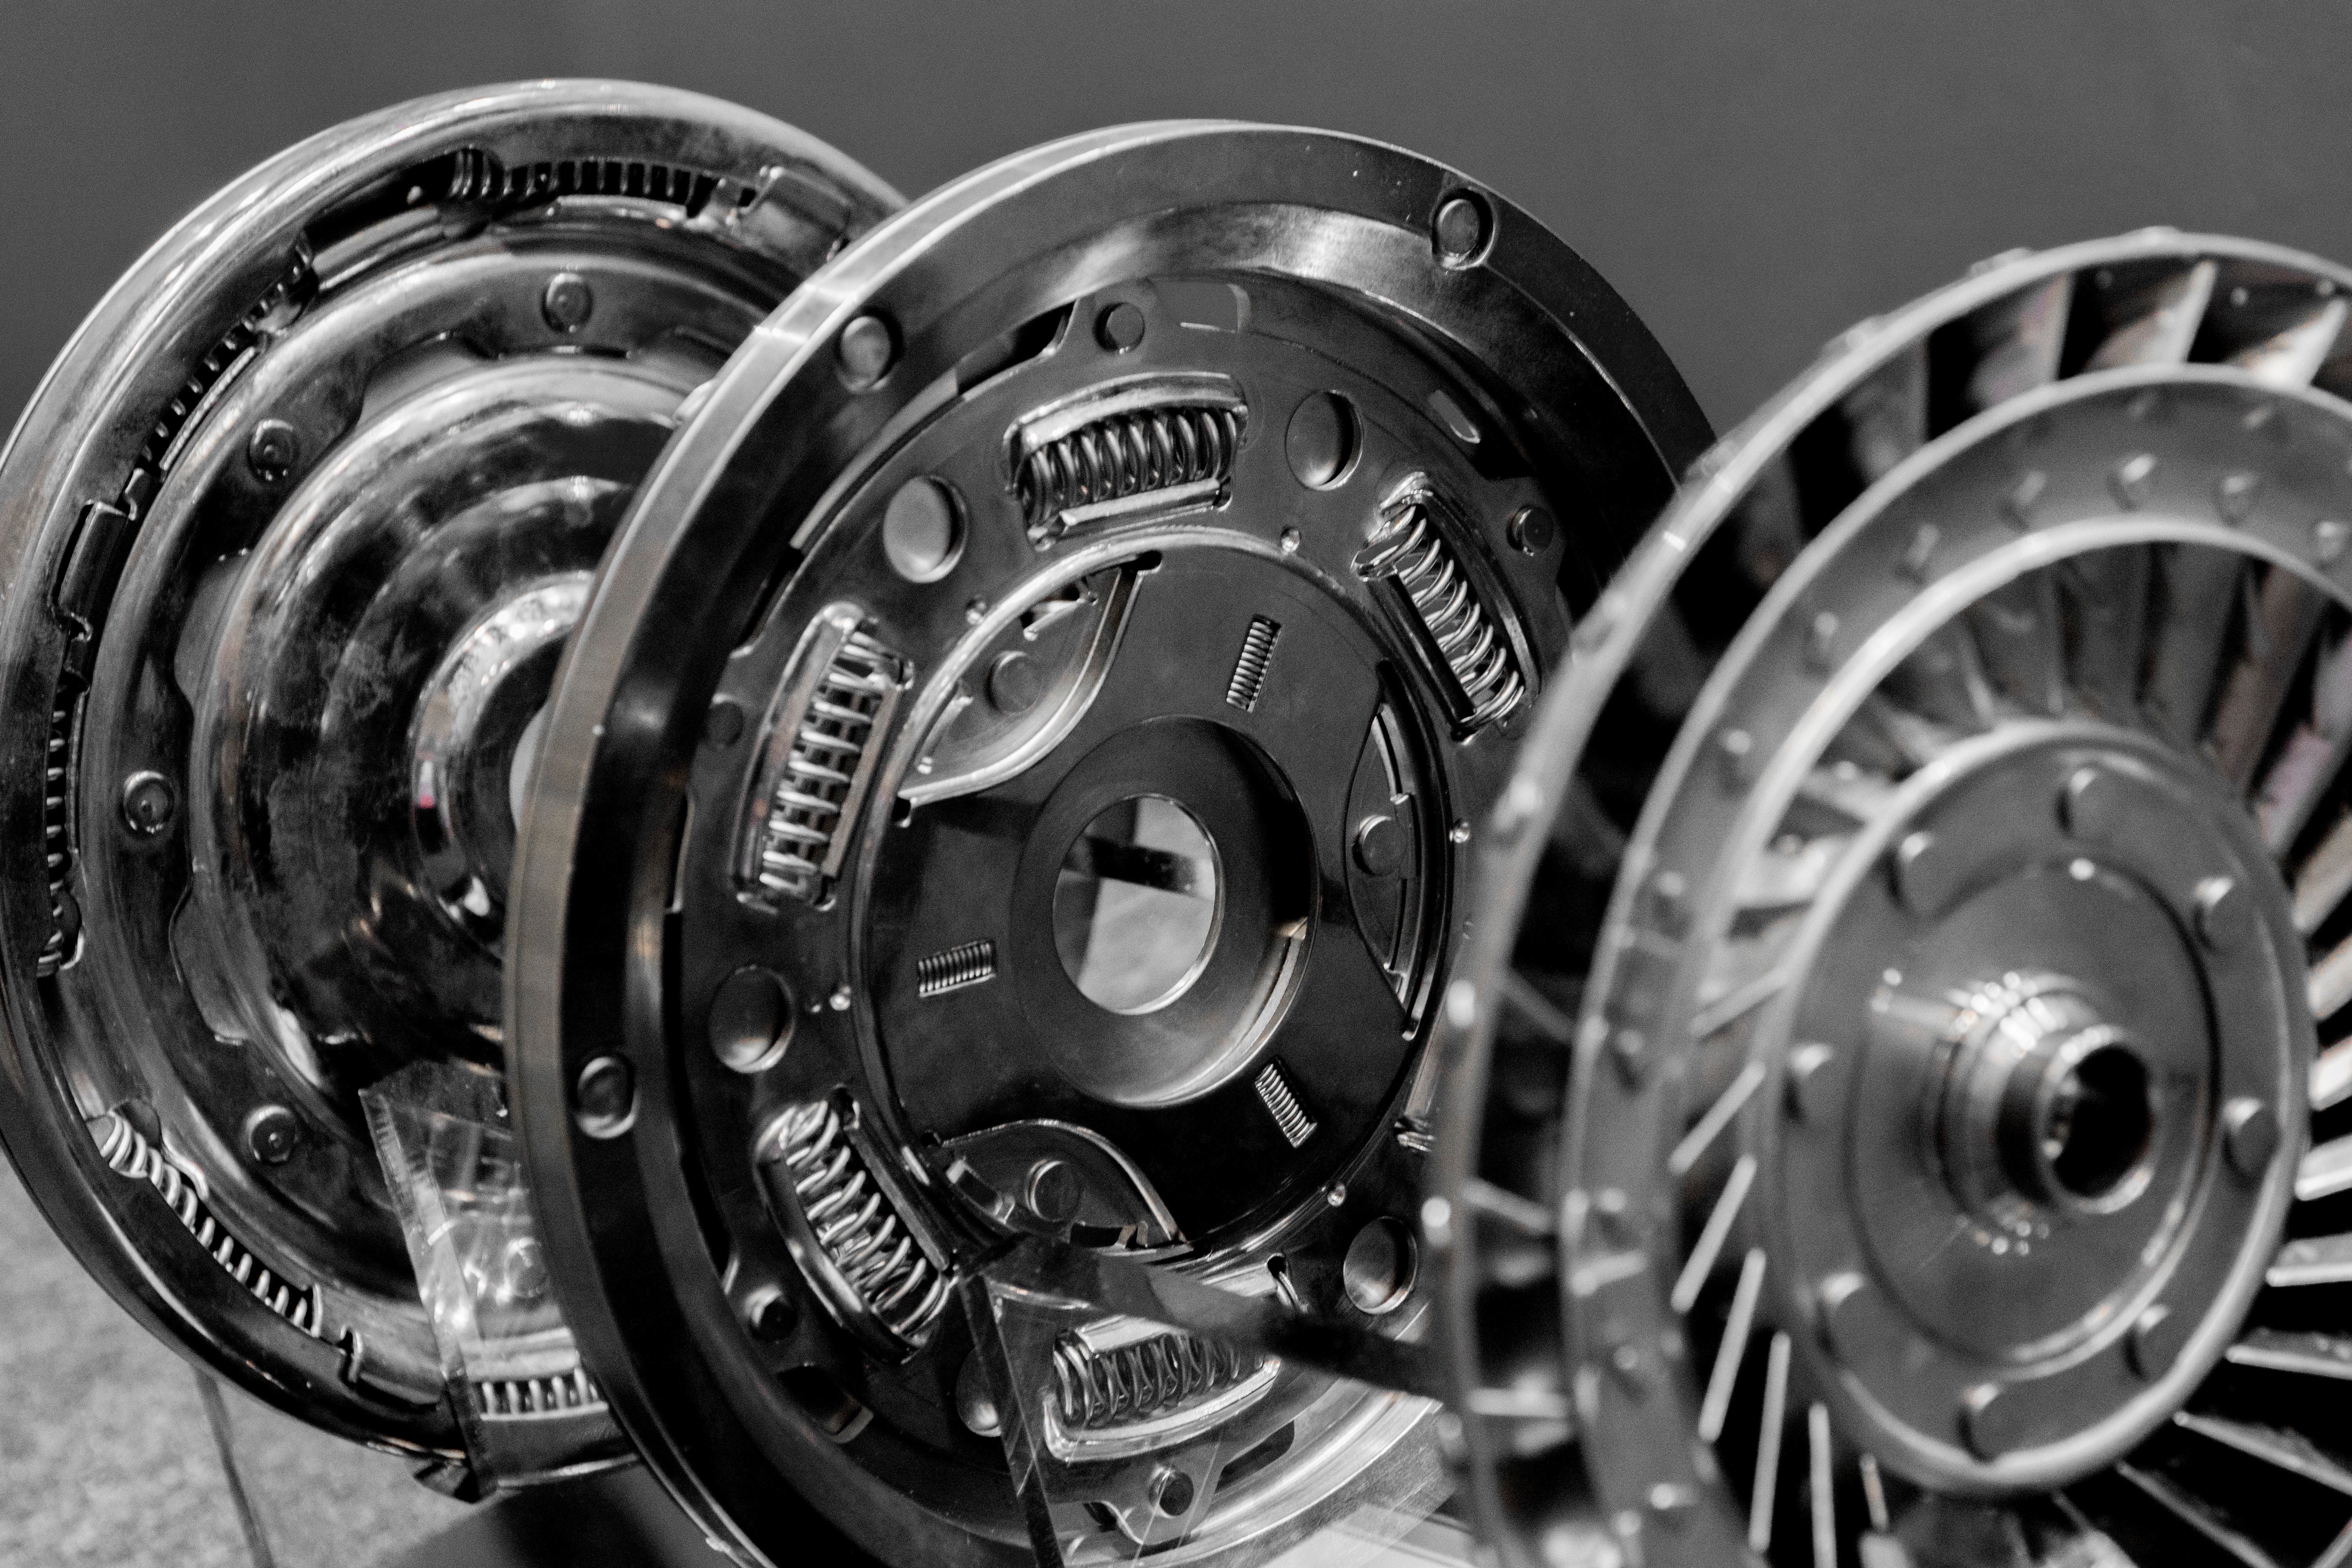
Torque Converter to fit your needs
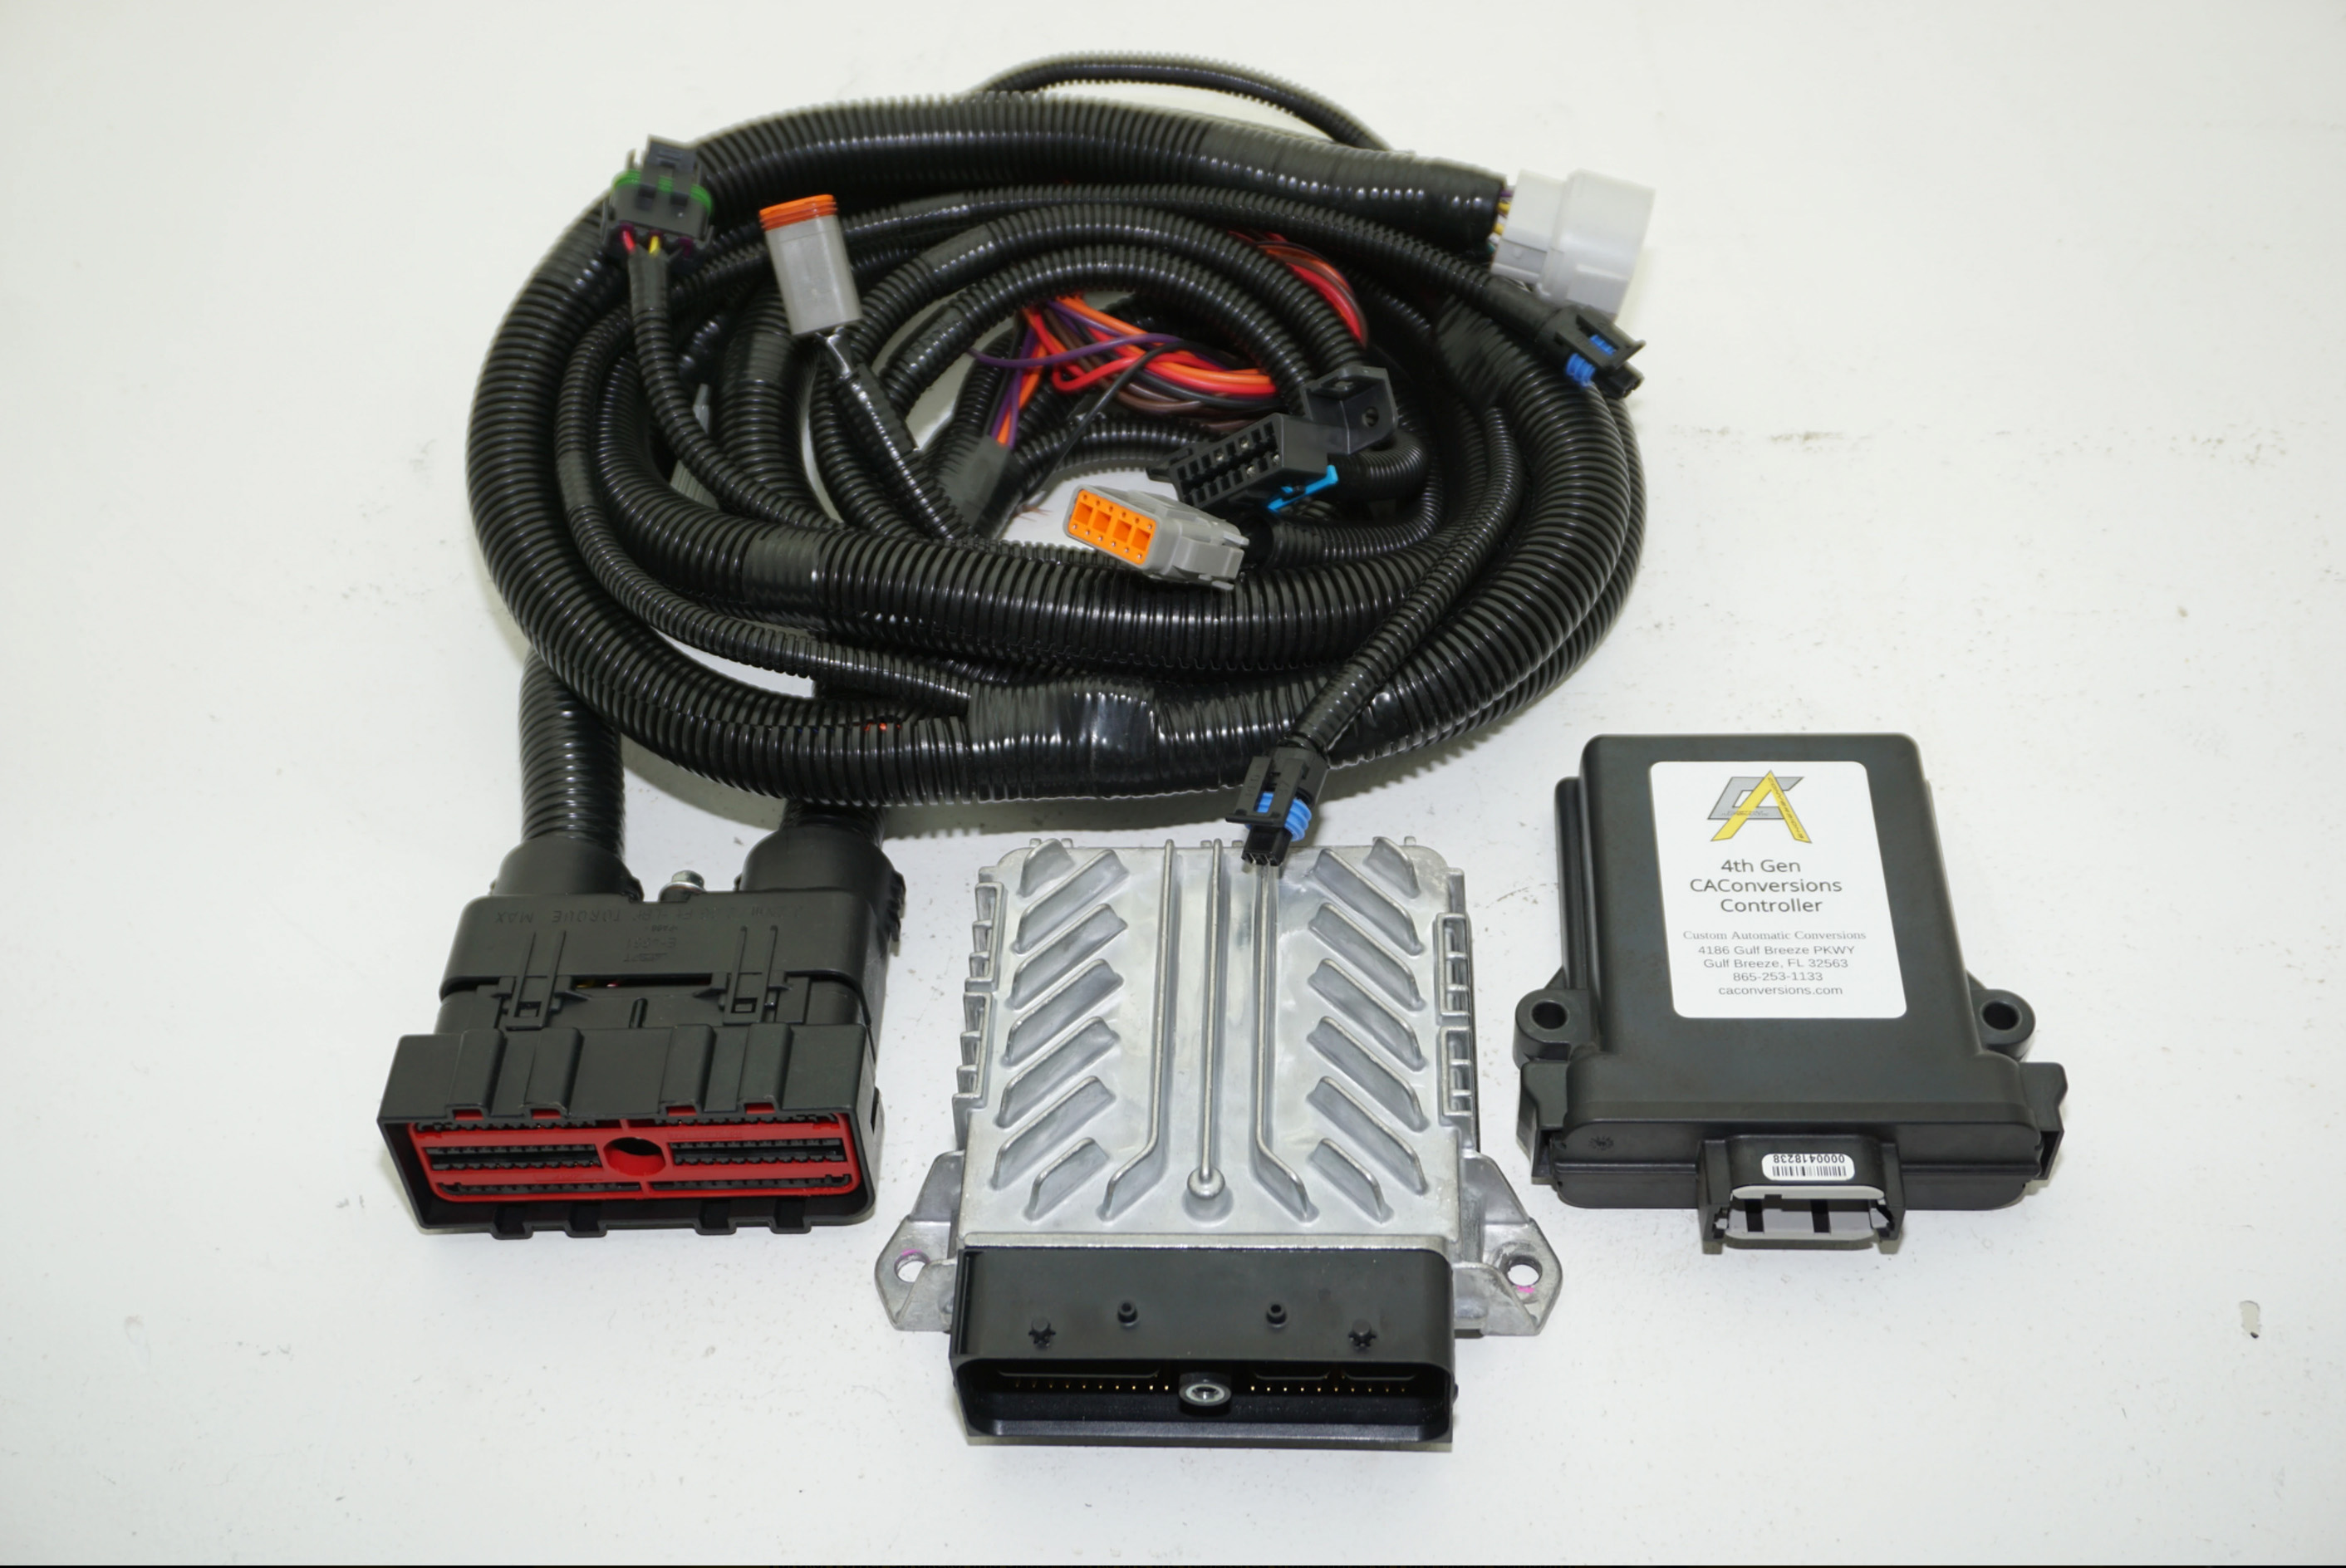
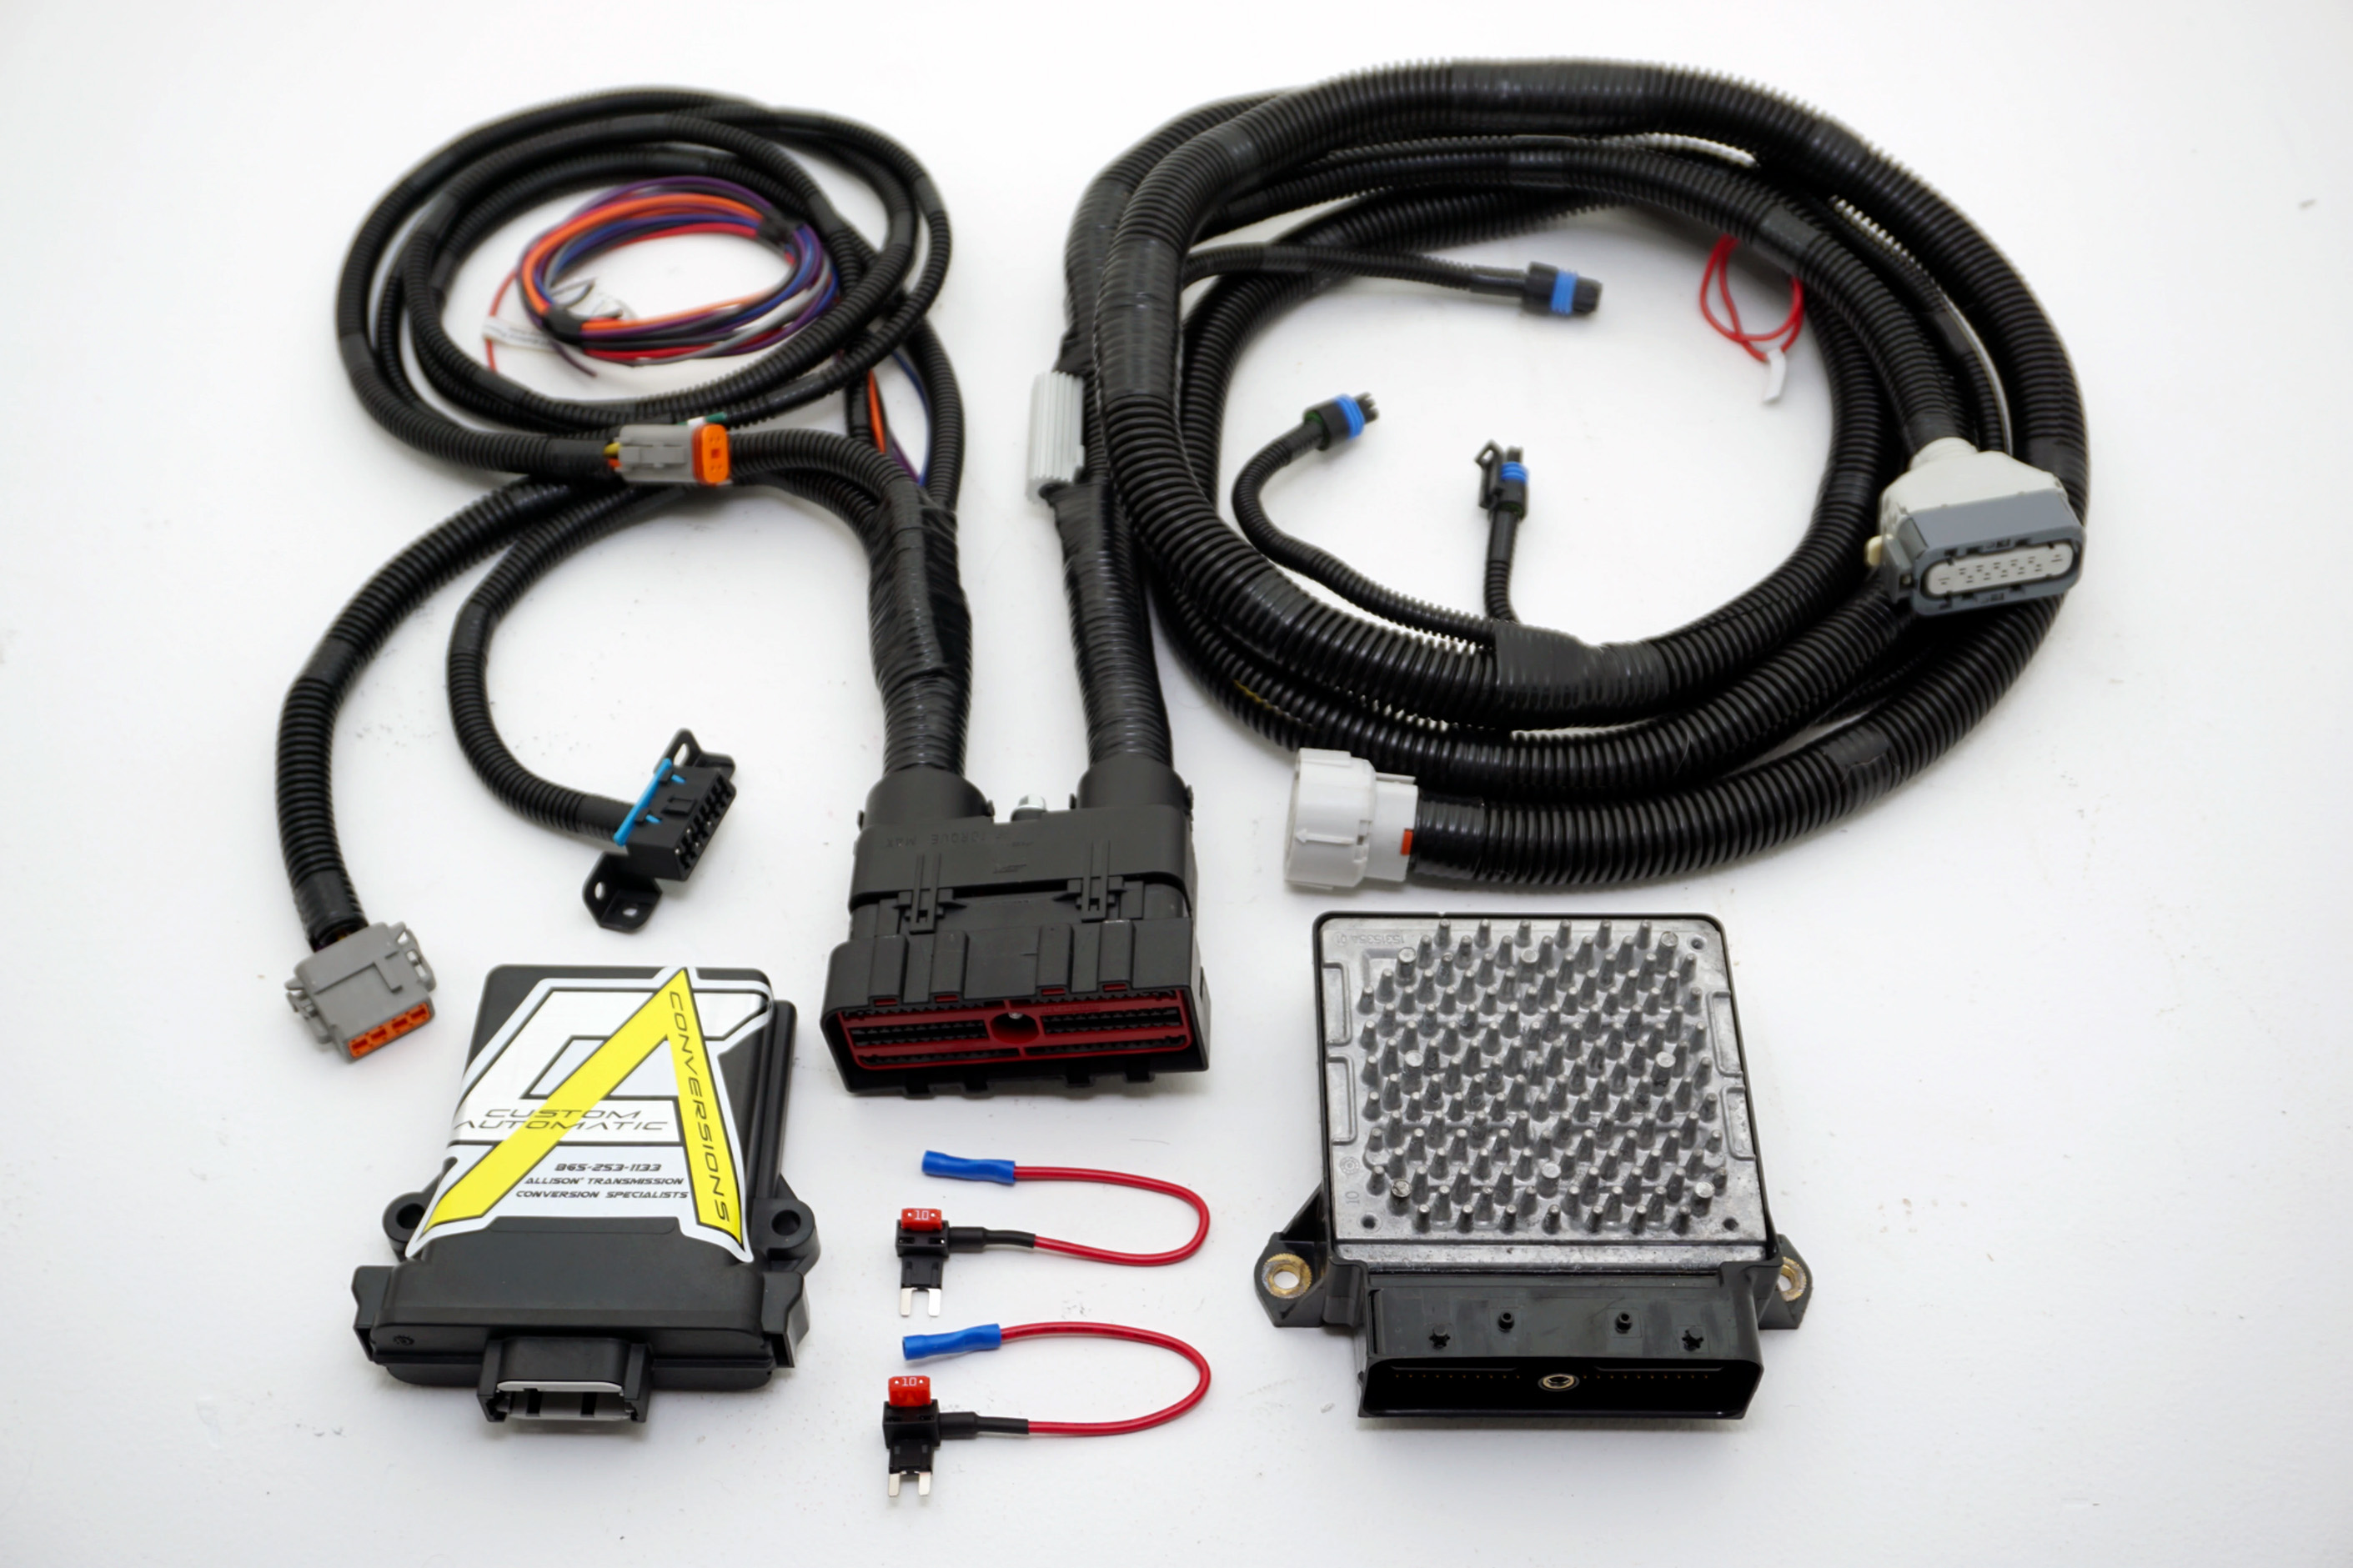
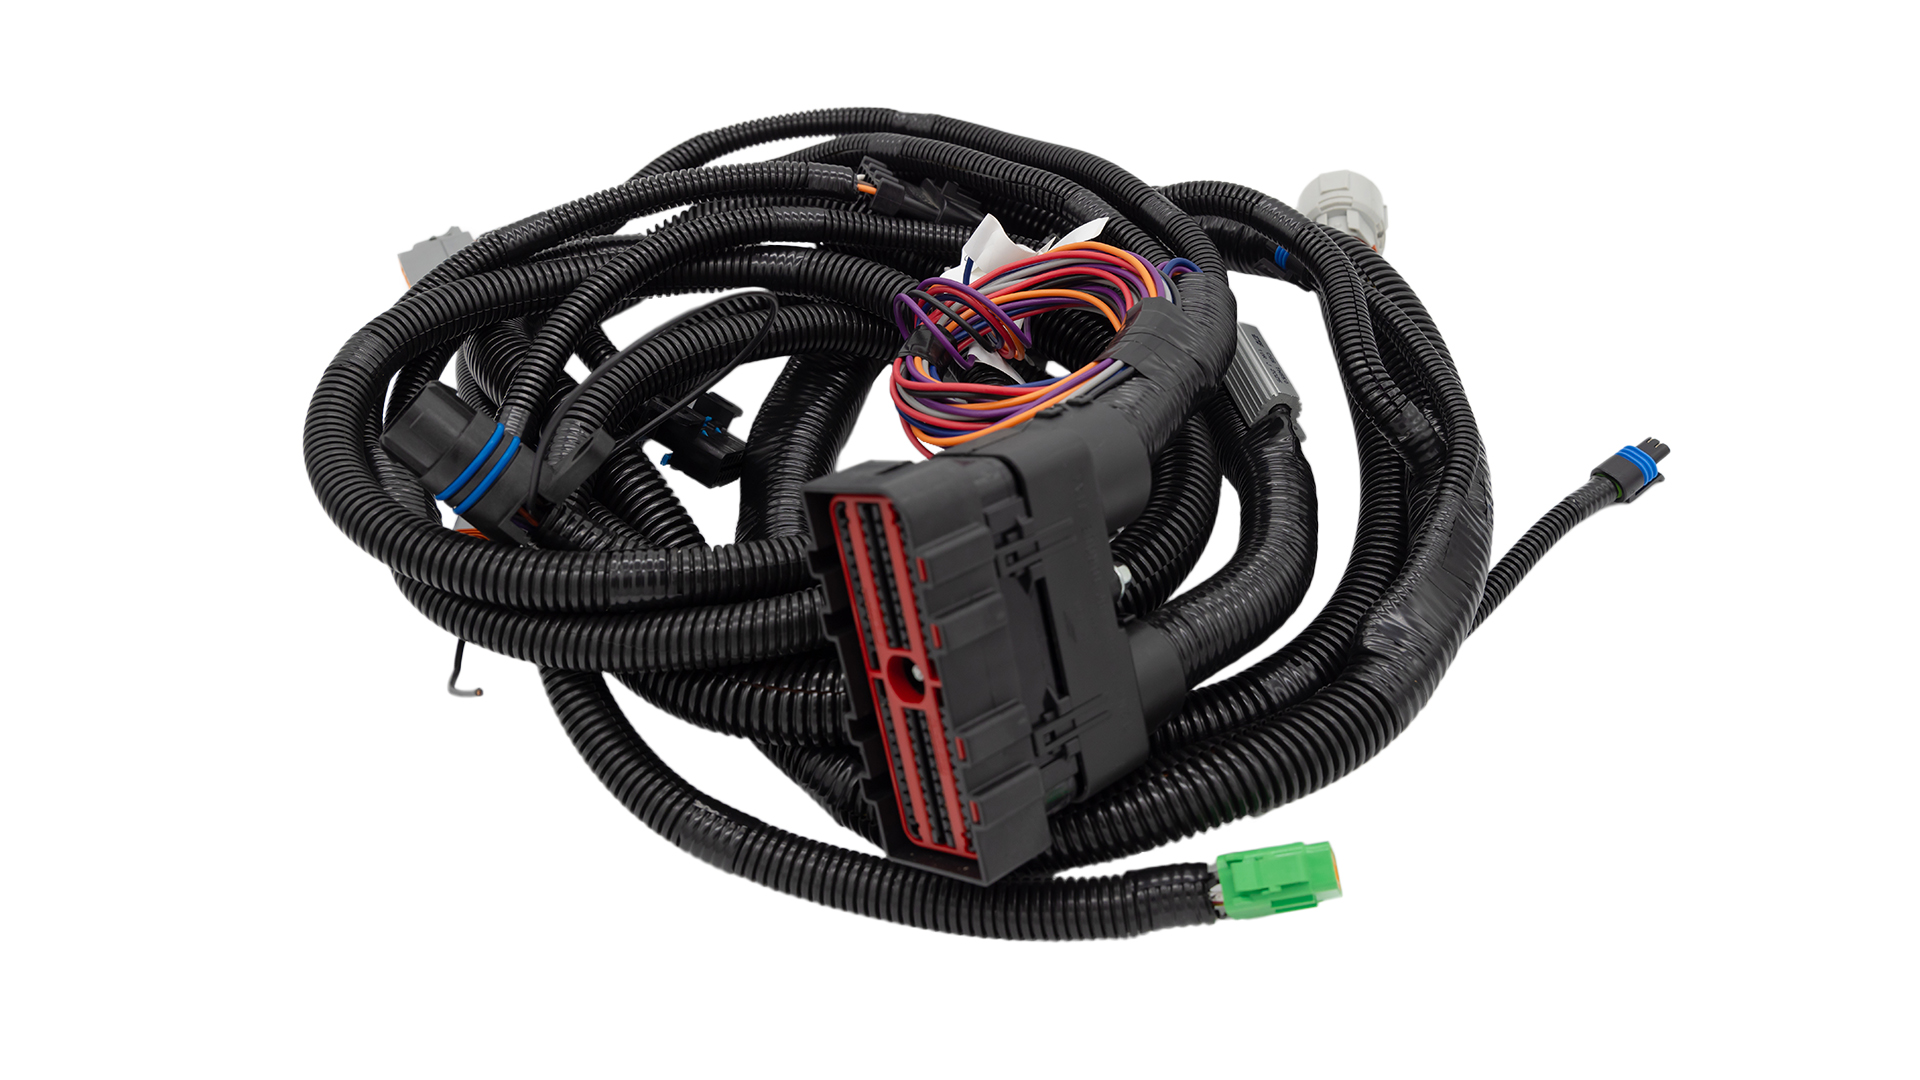
Wiring Harness

Flex Plate Adapter

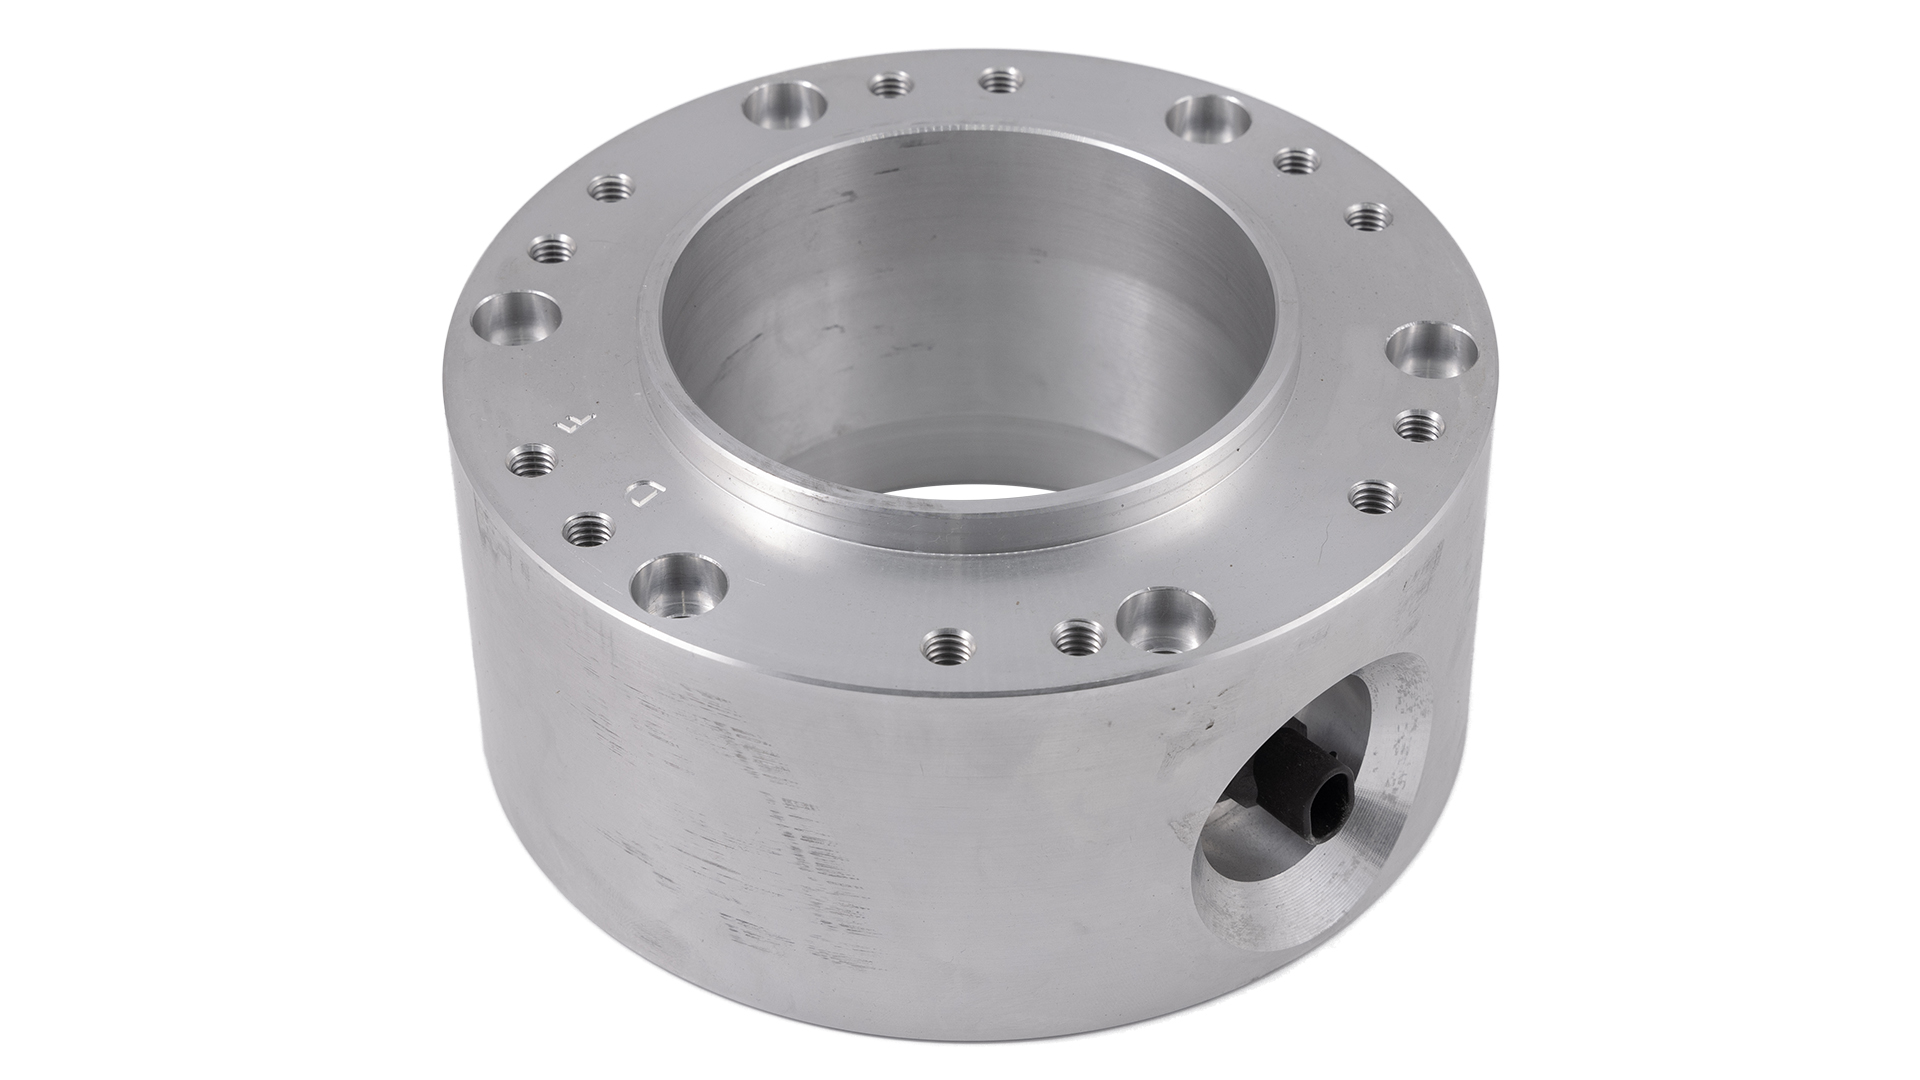
Transfer Case Adapter, Couplers, and Tone Rings
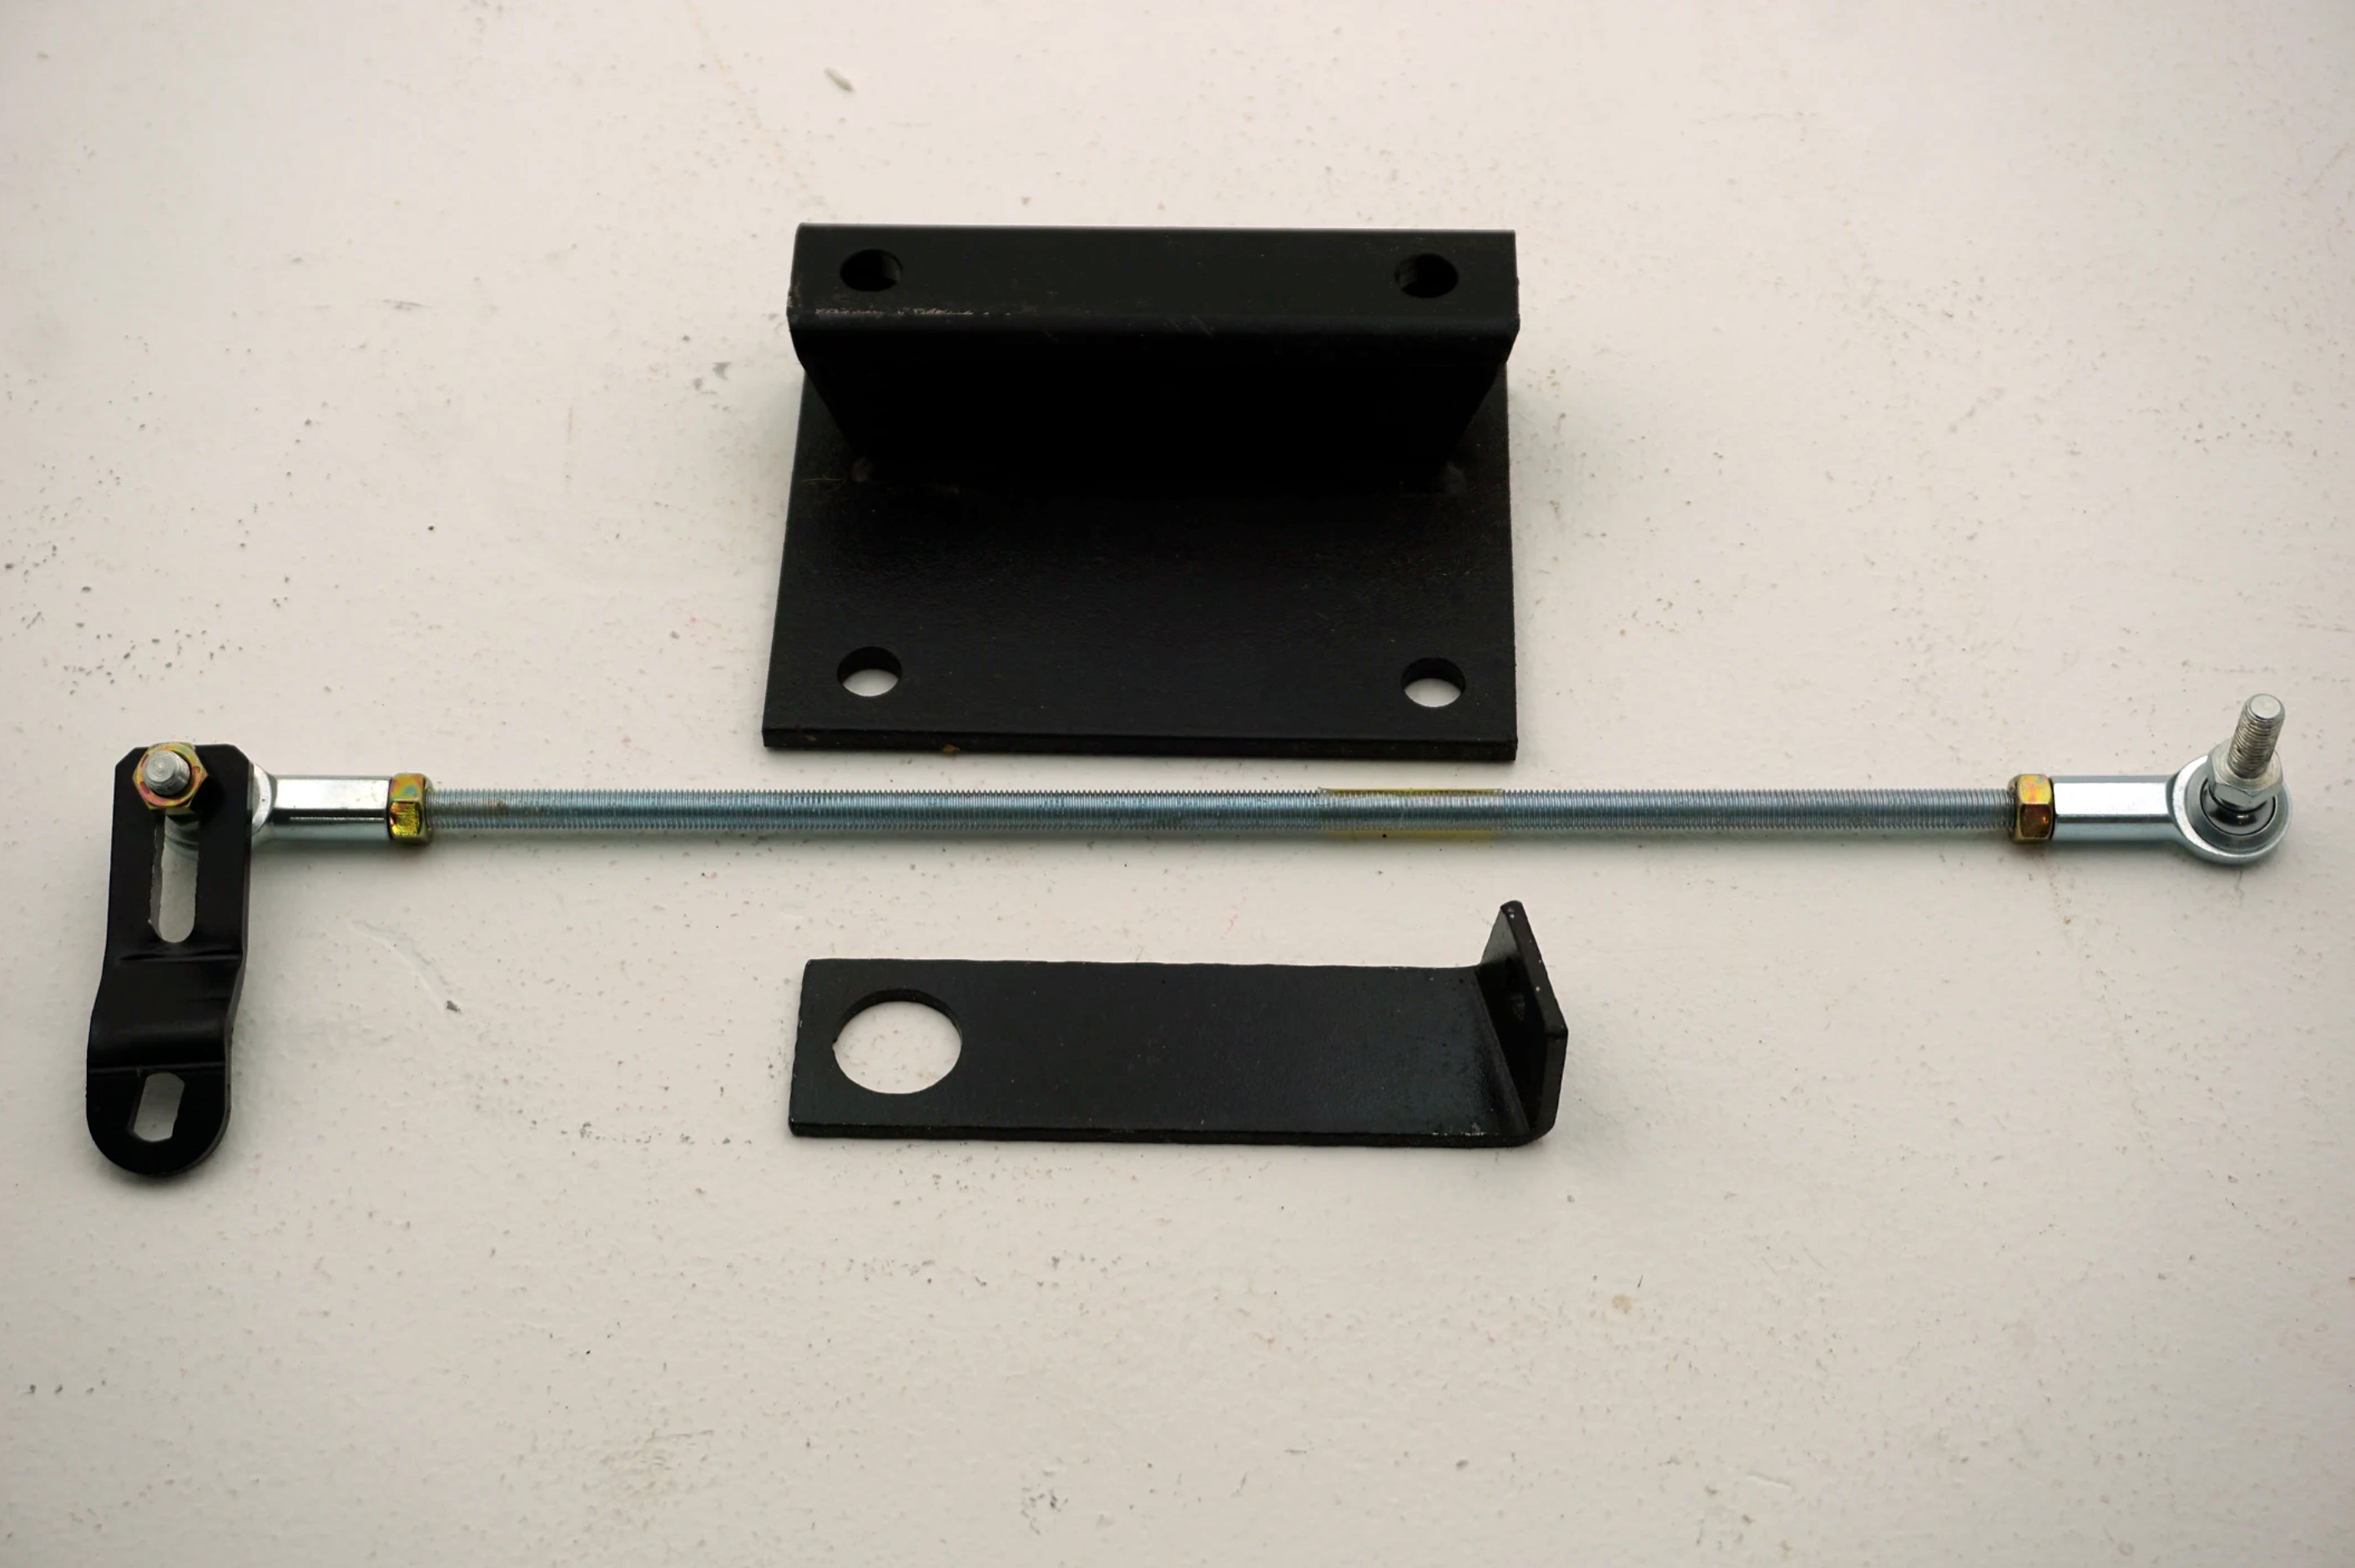
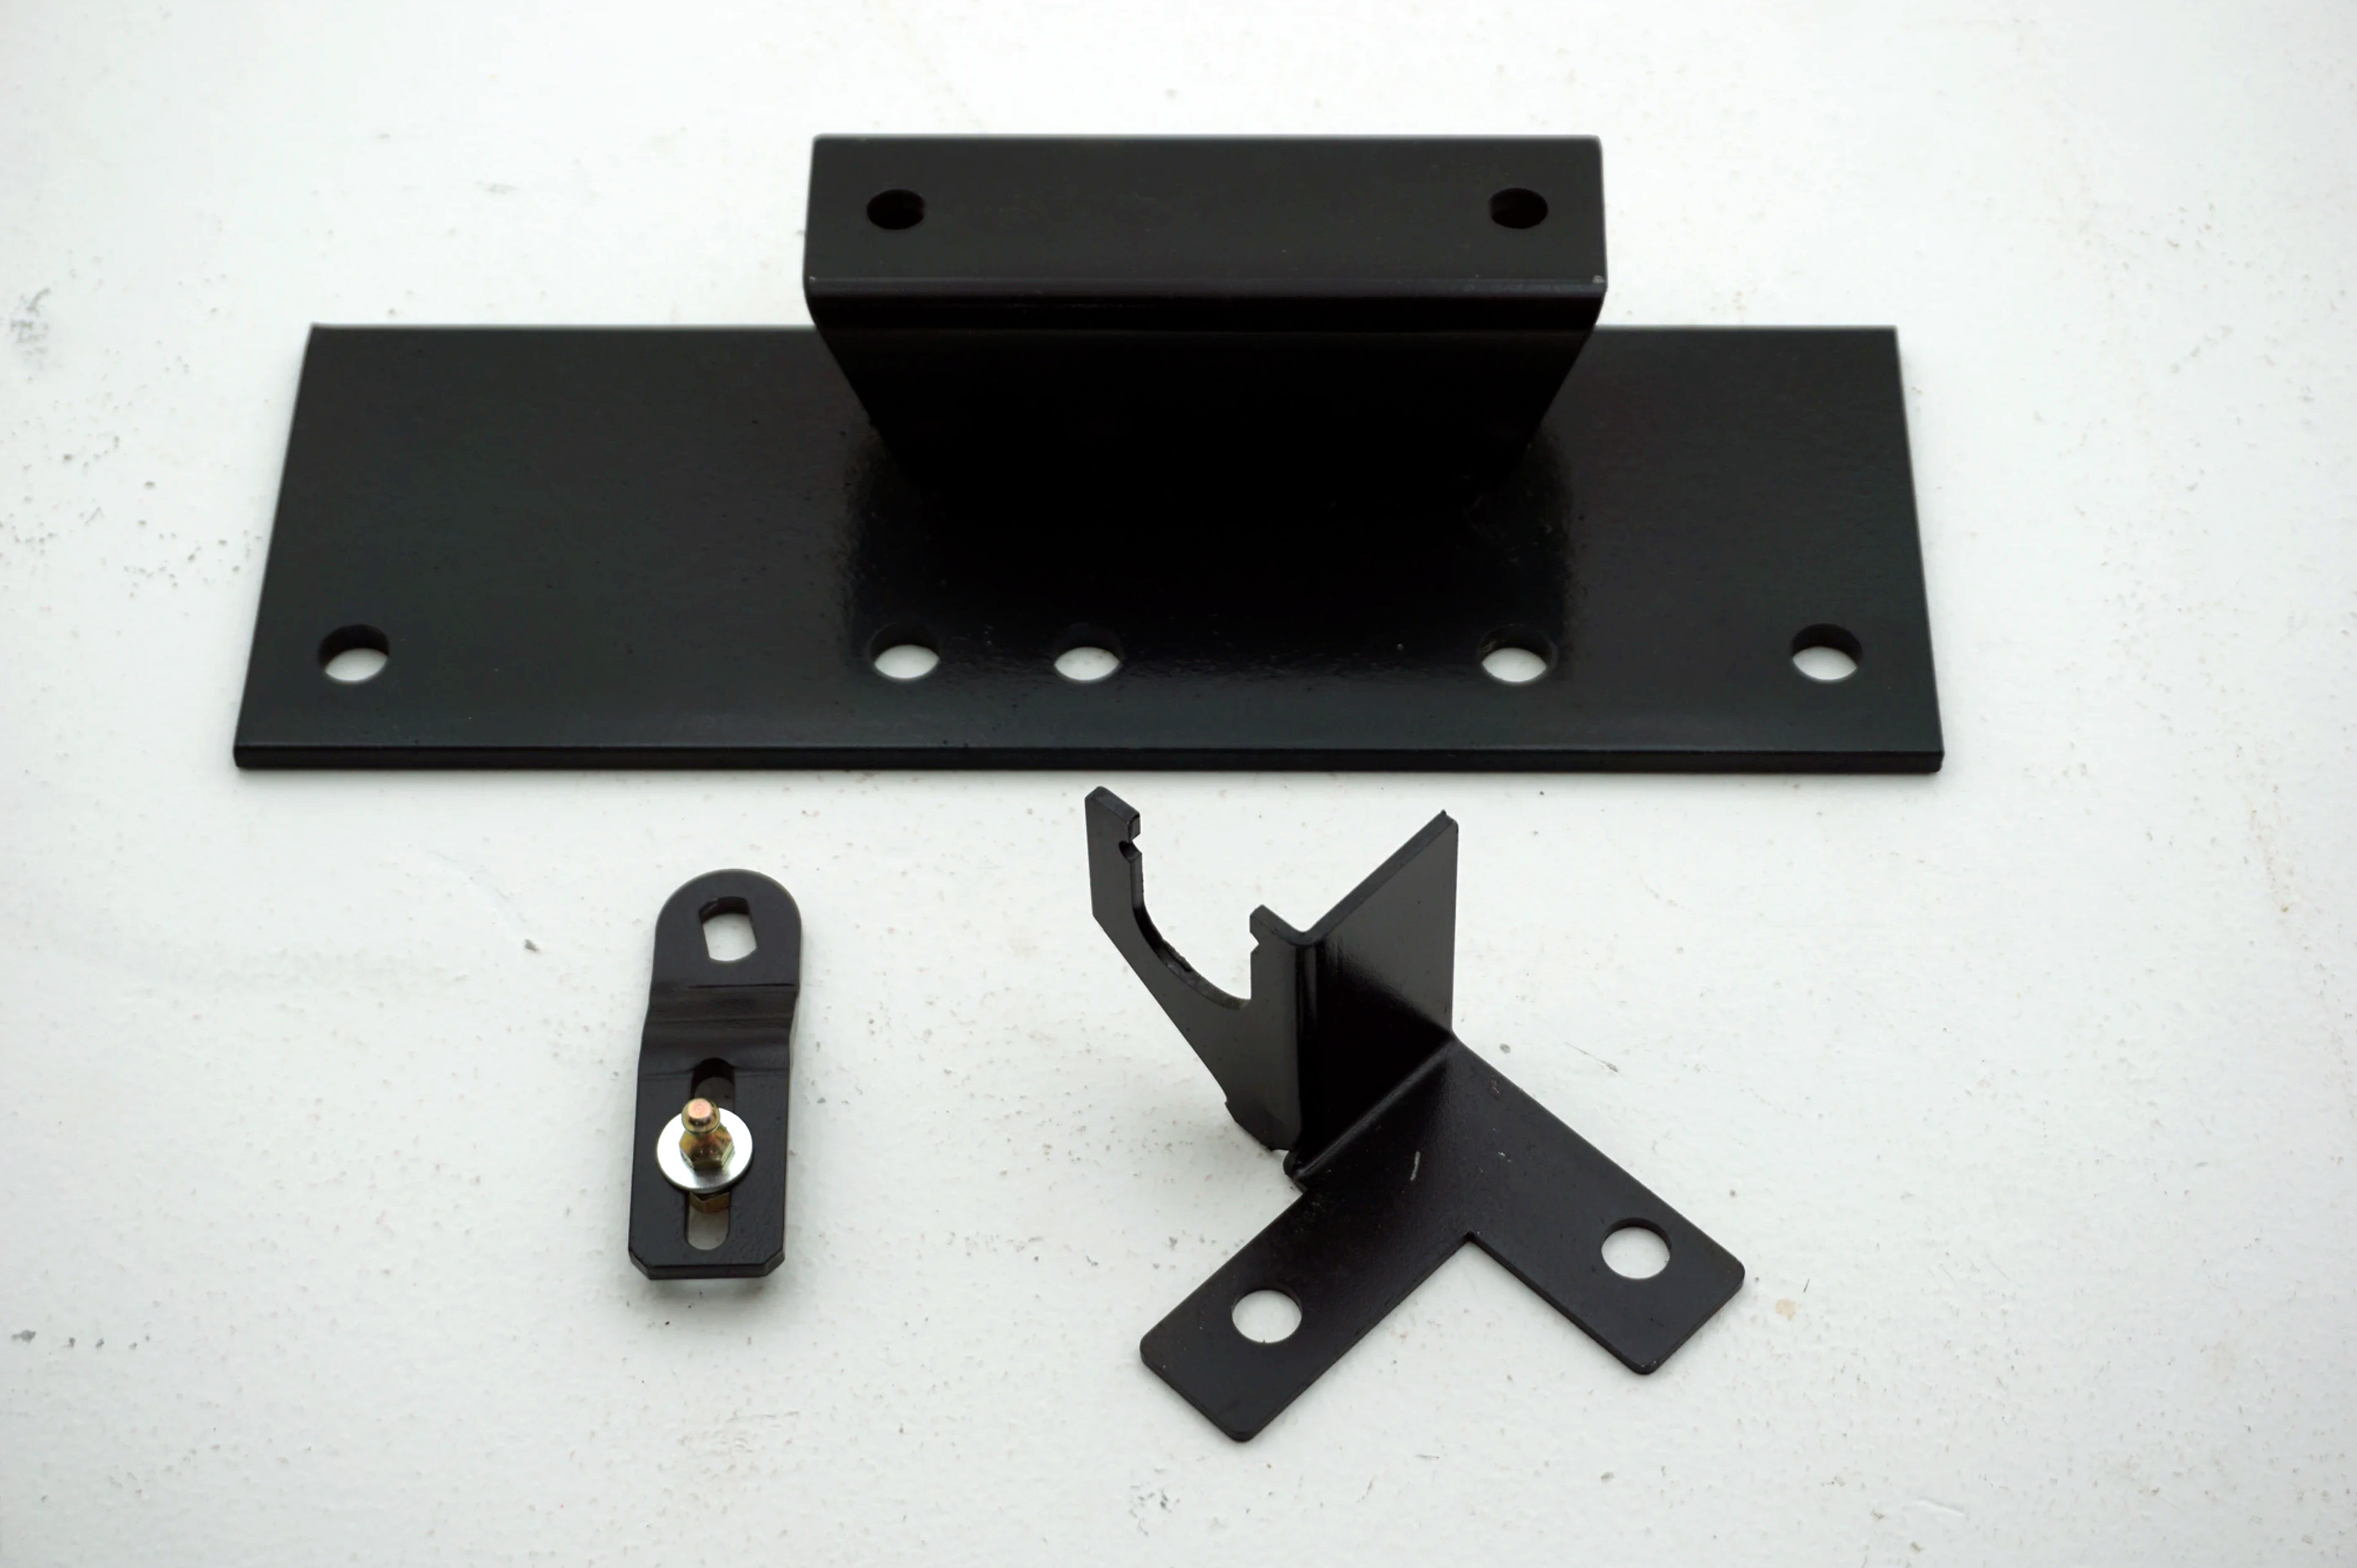
Mounting Kit and Shift Linkage
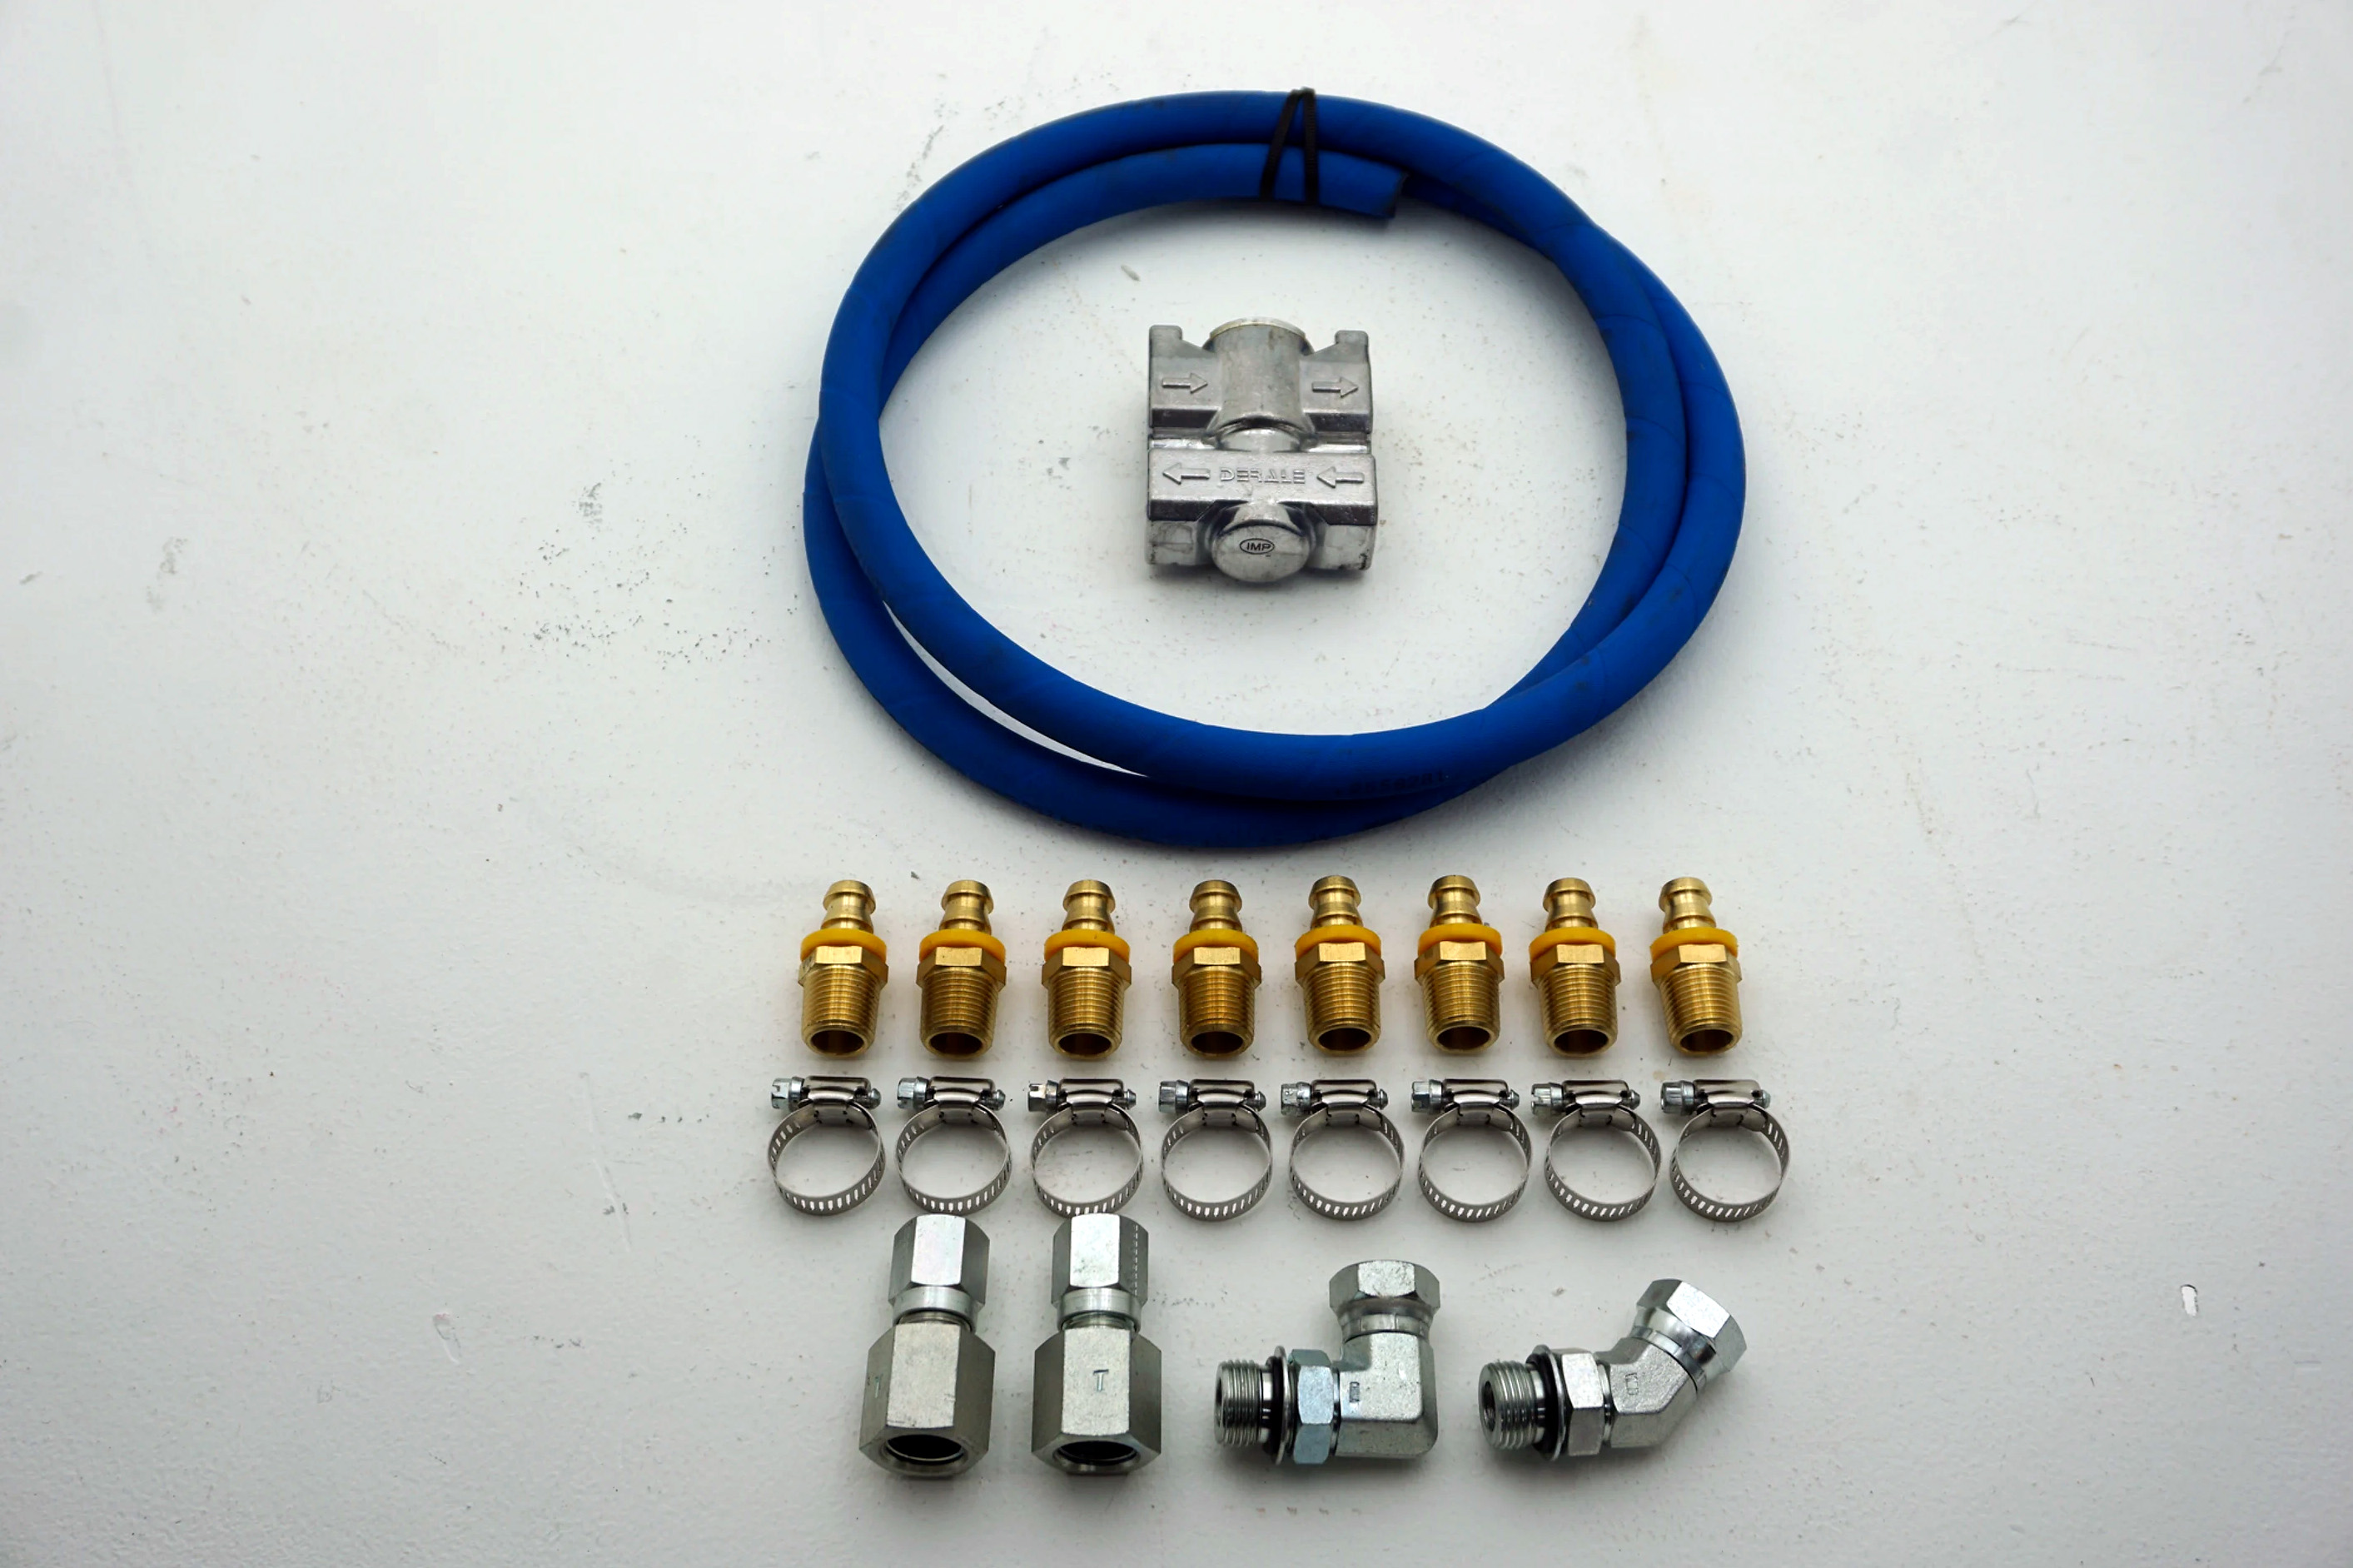
Cooling Kit
CAC Digital Display
Allison Total Control Module (TCM)
CAC Total Control Module (TCM)
How to determine the Right Torque Converter
Maximizing Performance: Using Tire Diameter and Gear Ratio Calculations to Choose the Ideal Torque Converter
FAQ'S
What are the benefits of converting my Dodge Ram's current transmission to an Allison?
Converting your Dodge Ram's transmission to an Allison can result in numerous benefits including improved durability, enhanced towing capability, increased fuel efficiency, and smoother gear shifts, thus optimizing your vehicle's performance.
Is an Allison conversion compatible with all Dodge Ram models?
Most Dodge Ram models can benefit from an Allison transmission conversion, but it's advisable to consult with a specialist to ensure compatibility with your specific model.
Can I use my existing Dodge Ram transfer case with an Allison conversion?
Yes, with the right adapters, your existing Dodge Ram transfer case can be utilized in an Allison conversion.
Which Allison transmissions are best suited for Dodge Ram vehicles?
The Allison 1000 series is a popular choice for Dodge Ram vehicles due to its reliability and performance, but the best option depends on your particular needs and vehicle model.
What is the process for converting my Dodge Ram's transmission to an Allison?
The conversion process involves removing your Dodge Ram's current transmission, fitting the Allison transmission with the necessary adapters, and installing it. The wiring harness, TCM, and other components are also adjusted accordingly.
Will my Dodge Ram's performance and fuel economy improve with an Allison transmission conversion?
Yes, an Allison transmission is designed to provide smoother shifts, increased durability, and better fuel efficiency, all of which contribute to improved vehicle performance.
What specific components come with the Allison conversion kit for Dodge Ram vehicles?
An Allison conversion kit typically includes components such as the transmission (if chosen), TCM, torque converter, wiring harness, adapters, and other necessary parts for the conversion.
Can I provide my own Allison transmission for the conversion, or can it be included in the kit?
You have the option to either provide your own Allison transmission or include it with your conversion kit purchase.
Can I perform the Allison transmission conversion myself, or do I need a professional?
While it's possible for experienced individuals to do the conversion, it's generally recommended to hire a professional to ensure the job is done correctly and safely.
How long does a typical Allison conversion take for a Dodge Ram?
The conversion time can vary based on the vehicle and the specific conversion kit. On average, it might take a few days to complete.
Will converting my Dodge Ram's transmission to an Allison affect my warranty?
An Allison conversion could affect your vehicle's warranty depending on the specific terms of your warranty agreement. We recommend checking with your warranty provider before proceeding with the conversion.
What should I do if I encounter issues after converting my Dodge Ram's transmission to an Allison?
If you face any problems after the conversion, it's best to contact your conversion specialist for troubleshooting assistance or potential service needs.
Can I use an Allison transmission from a different vehicle (like a Chevrolet/GM) for my Dodge Ram conversion?
Yes, an Allison transmission from another vehicle can be used, provided it's compatible with your Dodge Ram model. Ensure to consult with your conversion specialist before proceeding.
Do you offer rebuilding services for Allison transmissions?
Yes, we do offer rebuilding services for Allison transmissions, ensuring your transmission is operating at peak performance.
What is the cost range for an Allison transmission conversion for Dodge Ram vehicles?
The cost can vary significantly depending on the specific Allison model, whether you're providing the transmission or purchasing it as part of the kit, and any additional services required. Please contact us directly for a more precise estimate.


Financing Available
Financing is available, so that you can get on the road faster